When buying a second-hand old van / van / converted camper , often it is equipped with a "Trimix" period fridge.
But what is this beast there?
What are the advantages, disadvantages, and why to change for a compression refrigerator more recent ?
“Sort” for three energies "mix" because it is able to change energy with a simple snap of a finger (or rather pressing a button).
A Trimix refrigerator therefore has an advantage, can operate in three modes :
- Electric 12V: when driving, the engine (rather the alternator), operates the fridge. The major drawback is that the old technology used makes it very (very very) energy-intensive and when stopped, it can drain the entire auxiliary battery in just a few hours. Not really ideal so...
- Gas (propane or LPG): to counter the 12V fault, this is the preferred mode when stationary so as not to be left without electricity. Generally, in this mode, it is necessary to pump with a small pump integrated into the fridge before using the piezo ignition to light the system. It works very well (when it wants to start well), and with a 12L bottle, we are quiet about 15 days on average by running it constantly. Not bad, but it still consumes a little. The downside is maintenance. Over time, you have to clean the burnt gas exhaust chimney (often the cause of a fridge that won't start), the piezo can do its thing, etc... In short, it ages badly and the parts are more and more hard to find.
- 220V / 110V: If you go to the campsite or to friends, you can directly connect the van to an electrical outlet and switch the fridge to this last mode. Thus, we end up with a fridge, almost like at home. Great ! But hey, the van is made to move anyway...
On paper a Trimix fridge therefore has the advantage of never running out of energy there are so many possibilities to keep it cold (or rather cool when it's very hot outside). Yes, but as we said the problem is consumption and the generated cold report…
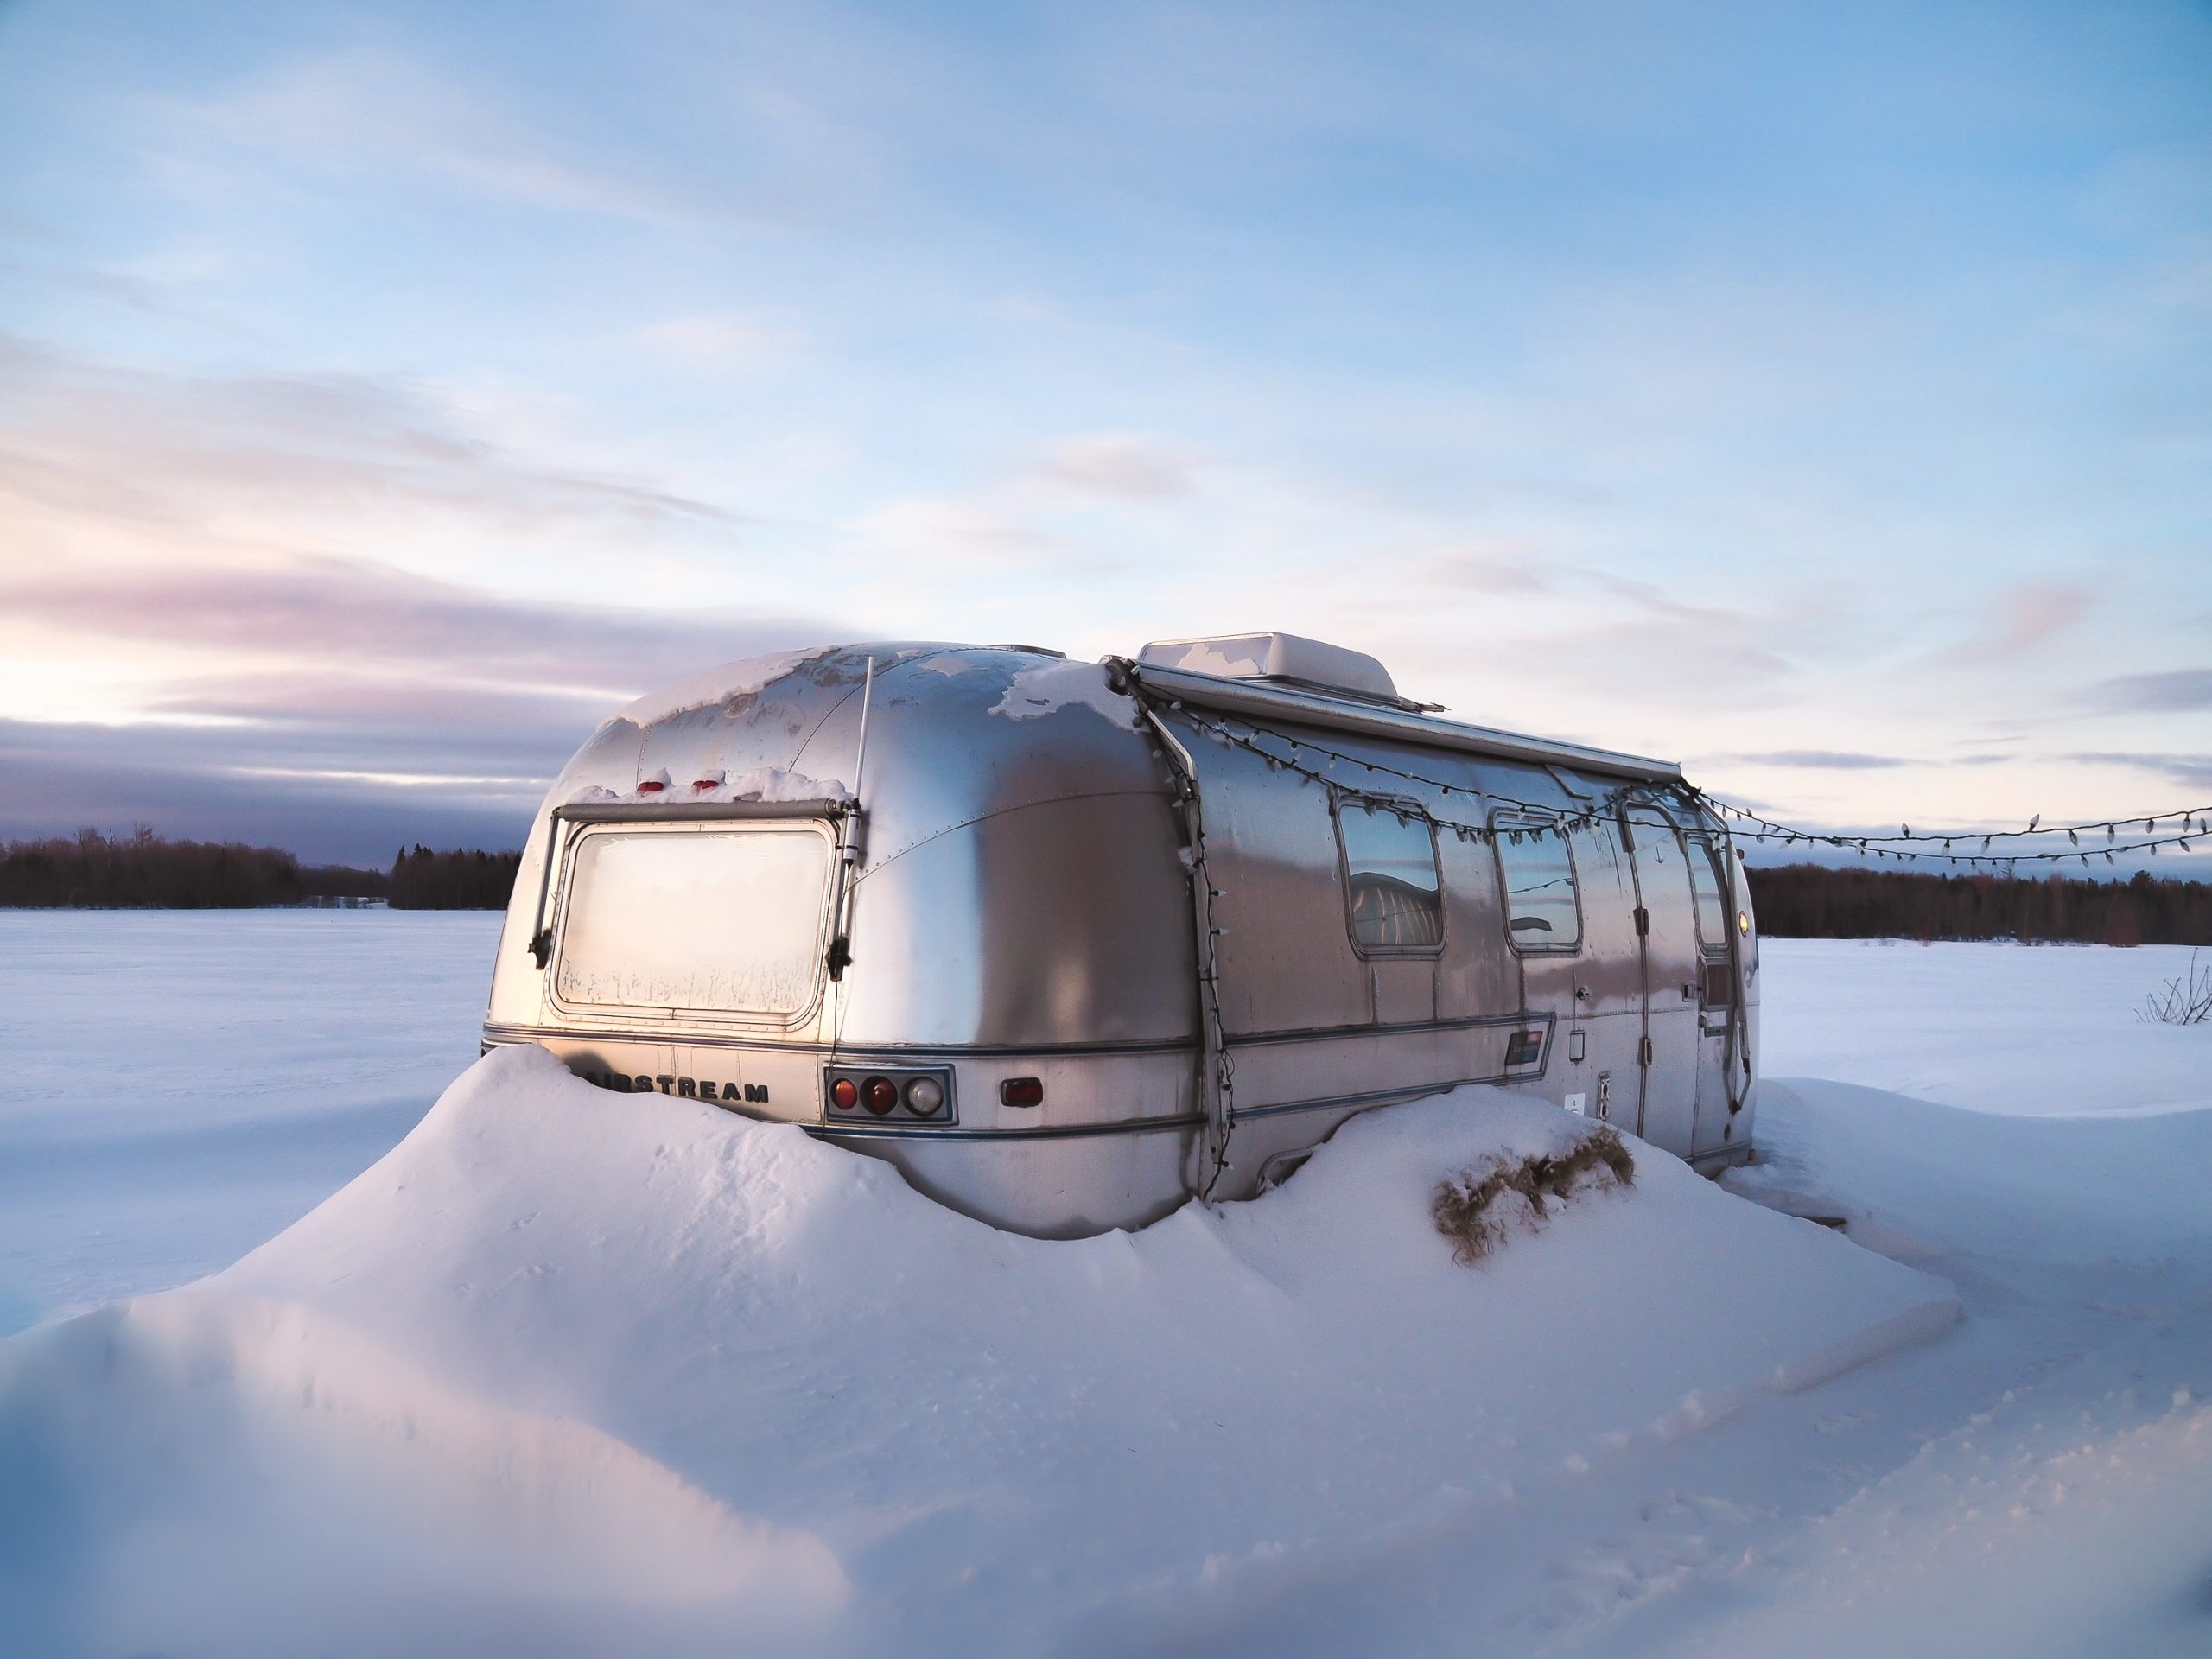
These refrigerators are sometimes more than 30 years old (we made things to last at the time anyway), and they often reach the end of their life.
Since technology has evolved and new fridges have appeared: compression fridges.
Trimix refrigerators therefore use old technologies, and today the new ones compression fridges 100% electric are so energy efficient that Trimix have become totally obsolete.
quickly became the new standards, they are therefore naturally found on all new converted vehicles today. They operate at a single energy 12V (sometimes also in 220V/110V, but it is quite rare or optional).
But why remove the gas function? Because with a battery, even of low capacity, can easily last 2-3 days without moving and without reloading. And with a solar panel on the roof, the operating autonomy is further increased. The gas mode is therefore no longer an advantage at all, on the contrary it takes up space unnecessarily. In effect, by removing the gas system, manufacturers have been able to gain in useful volume. For the same outside dimension of fridge, we end up with almost 1/3 more refrigerated volume!


When we have changed the fridge our dear Popo (our orange T3 in America), for a model of the brand Webasto model Cruise 49 compression (49L capacity), what advantages have we drawn from it? If you have read correctly, you already know:
- a fridge that stays cold even at high temperatures and who even makes ice cubes in the freezer compartment.
- a gas autonomy that has gone from two weeks to 6 months! (only two gas hobs left to power).
- more internal volume to put food and therefore more autonomy on the road to go further.
- the comfort of a modern fridge : lighting, adjustable thermostat, etc…
So many advantages in the end, and we do not regret. So much so that when we completely restored "Kaktus", our second VW T3 Syncro in Europe, (see the complete restoration in video here) we naturally changed the refrigerator directly for the same model Webasto.
For the installation nothing more simple, two wires to connect and plug the old gas chimney outlet and you're done.
In addition with a little ingenuity, we were able to keep the original door of the Westfalia kitchen cabinet of our two T3, to integrate them perfectly. What else ?!
Basically, a Trimix fridge manages to generate an internal temperature that is 20°C lower than the outside temperature. When it is 25°C outside everything is fine, we manage to have 4-5°C in the fridge, which is the perfect temperature. But when the temperature, mount them conservation issues depending on the food arrives…
Do we tell you about the time we were in Death Valley in California by 53°C? We let you do the math...


> Do not hesitate to ask your questions in the comments, we will be happy to answer them <


Hello, I just bought the same fridge as yours, but in 42l with the removable compressor. My goal was to do the same install as originally as you did. Only, I don't understand how you did to place the fridge door, already, for my installation, it just goes through the frame of the cabinet, and if I stick the fridge inside the front of the cabinet like you , since the door is 5cms thick, the furniture door is much too offset. And if I bring the fridge in so that my furniture door touches, I cannot open because the pivot means that it touches the frame of the furniture. Looking at your photos, I feel like you cut the thickness of the door🤔. Could you tell me how you managed to adjust the set? A kind of little tutorial 😉
Thank you and good mop 😊
Hello, then we should already compare the dimensions at the depth level. On the 49L you have to cut a strip in the thickness of the insulation of the fridge at the back to make it go in completely. For the door, it must indeed be cut “in half” to keep only the interior part and the seal. Looking at the original door we realize what to do 😉
Hello,
To come back to the integration of the Webasto 49l refrigerator in the T3, to keep the WESFALIA door, what do you mean when you write: "For the door, you have to cut it 'in two' to keep only the part inside and the seal “. We didn't understand… sorry! Do you have explicit photos? Thanks in advance
Patrice and Veronique
Hello, yes sorry it's a bit hard to explain without pictures but unfortunately we don't have them with us currently (we are in Mexico). To use other words, you have to separate the interior trim of the fridge (white) + the seal, from the whole of the new door (cut in two slices), to install it on the original door… As we wrote it, the ideal is to analyze the door of the original fridge, we immediately understand what to recover on the new one 😉
Hi Hi ! I have been the proud owner of a Club Joker (86') for a year and after spending a summer with the original fridge, I realize that a solution such as yours would be IDEAL! I would also be very interested in having some photos and explanations on how to proceed!! 🤗 Would it be possible for you to switch me? I would be extremely grateful!! 🤟
Allô Joana et Éric!!
J’espère que vous allez bien dans vos nouvelles aventures??
Je souhaiterais savoir où vous avez trouvé le réfrigérateur Webasto 49L en Amérique du Nord.
Merci ☺️
Salut Fabien 🙂
tu peux prendre un Truck Fridge TF49, il a exactement les mêmes dimensions. Il n’y a que l’habillage intérieur du freezer qui change.
Hi Patrice & Veronique,
Hi Joana & Eric,
I just bought an Isotherme 49 Élégance and I plan to mount it in the next few days on my Club Joker! Did you manage to install yours? I find the rendering with the original door extra!
Do you have any good advice before I start this project (explanations / photos / videos?) 😇 !!??
Thank you for your help and I hope we will have the opportunity to meet soon on the road!! 🤟
Hello,
Tout d’abord bravo pour vos voyages et la préparation de vos 2 T3 ! Du travail très propre !
Et aussi bravo pour votre livre … très intéressant…
Serait-il possible de m’envoyer le dossier photo du montage du frigo à compression svp ?
J’ai acheté le même mais franchement pas évident à monter en conservant la porte d’origine !
Merci par avance et bonne continuation…
Cordialement
Jérôme
Salut, nous t’envoyons un email avec la marche à suivre, c’est un peu trop long à expliquer par ici 😉
Ce n’est pas vraiment un tuto avec photos car nous avons fait nos deux montages de nuit et dans l’urgence… Mais tu devrais t’en sortir !
Bonjour Joana, bonjour Éric.
Je m’appelle Gaëtan et ma femme et moi avons un T3 de 1985 alias « Jojo ».
Tout d’abord, merci pour les tutos en ligne qui sont une véritable bibliothèque à idée pour la restauration de notre petit bolide☺️.
Je suis moi aussi intéressé par les modifications à apporter au frigo Webasto 49. J’aimerais l’adapter à son emplacement afin de conserver la porte d’origine. (Je n’ai pas encore fait l’acquisition dudit frigo. J’attends votre réponse avant de me lancer).
👍
Merci d’avance à vous deux et bonne journée.
« On the Road again… »
🤙🤙🤙
Hello, nous t’envoyons un email avec la marche à suivre, c’est un peu trop long à expliquer par ici 😉
Hello to both of you,
J’ai réussi à intégrer le webasto 49 l en avançant un peu le meuble cuisine, par contre après avoir coupé dans la tranche la porte du frigo pour garder celle d’origine du westfalia, la porte n’a plus sa couche épaisse d’isolant.
Est-ce que cela ne pose pas de problème d’efficacité du frigo ?
Thank you
Serge BROTTE
Holà! Pour ne pas avoir à avancer le meuble il faut simplement couper une bande de 2 cm dans l’épaisseur de l’isolant du frigo à l’arrière au niveau de la traverse du panneau de carrosserie (c’est ça qui gène) pour qu’il se glisse plus en profondeur. Pour la porte, l’isolation est forcément un peu moins bonne mais il y a l’épaisseur de bois de la porte Westfalia qui compense (sur la porte Webasto c’est une simple plaque d’1mm). Donc ça ne fait pas vraiment de grosse différence à l’usage, au final c’est le même montage qu’à l’époque.
Merci pour ce retour.
En avançant le meuble d’un petit cm je n’ai pas eu besoin de couper la bande arrière du frigo.
Par contre la porte du webasto a une large épaisseur d’isolant, ce qui n’est plus le cas avec le montage d’origine du westfalia.
Mais je suis confiant puisque ça fonctionne bien de votre côté, et vous n’êtes pas dans des pays froids 😉
Amusez -vous bien et merci de continuer à nous faire rêver 👍.
PS: je viens de terminer l’installation de l’eau chaude et douche intérieur intégrée dans le planché (+3cm d’epaisseur)