Find a Airstream that's fine, but when she is from 1974 you can imagine that she is not no first freshness... as you may already know, time was lacking to redo one completely and it was so clean for its age that we jumped at the chance! You saw it on the article by presentation of the Airstream, everything is well thought out overall, but still it's a bit dark in there, for us!
So, go ahead, put on our gloves, our suits and we'll see all this!
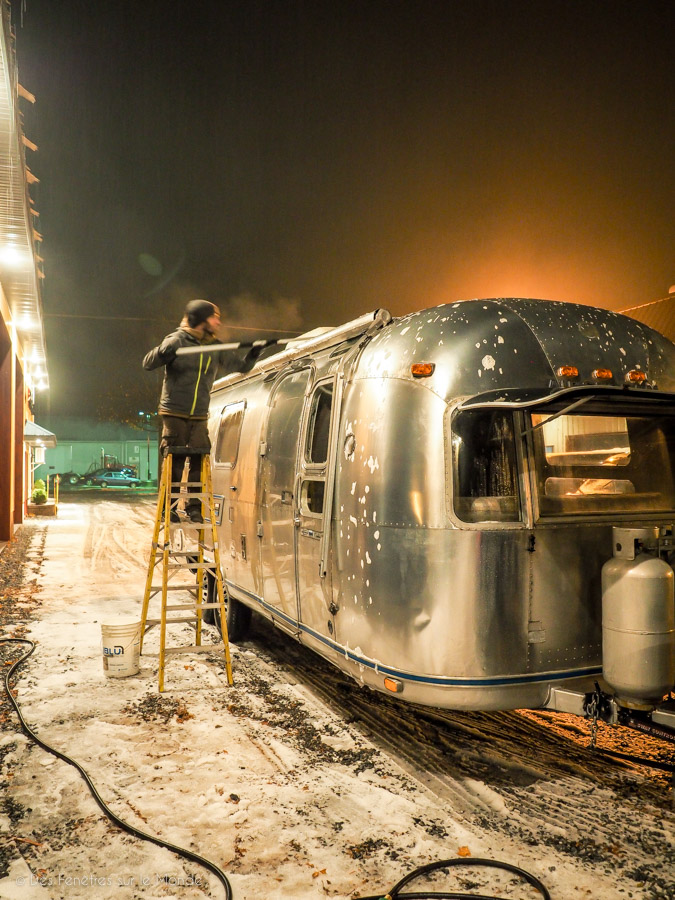
We start with a good exterior cleaning to check that there is no problem, such as water infiltration that would require us to remove panels. Yes, we did that at night but phew, it seems to be ok…
And we empty and we sort the interior of all the stuff left by the former owner.
The idea: to see a little more clearly and visualize the work to be done more easily.
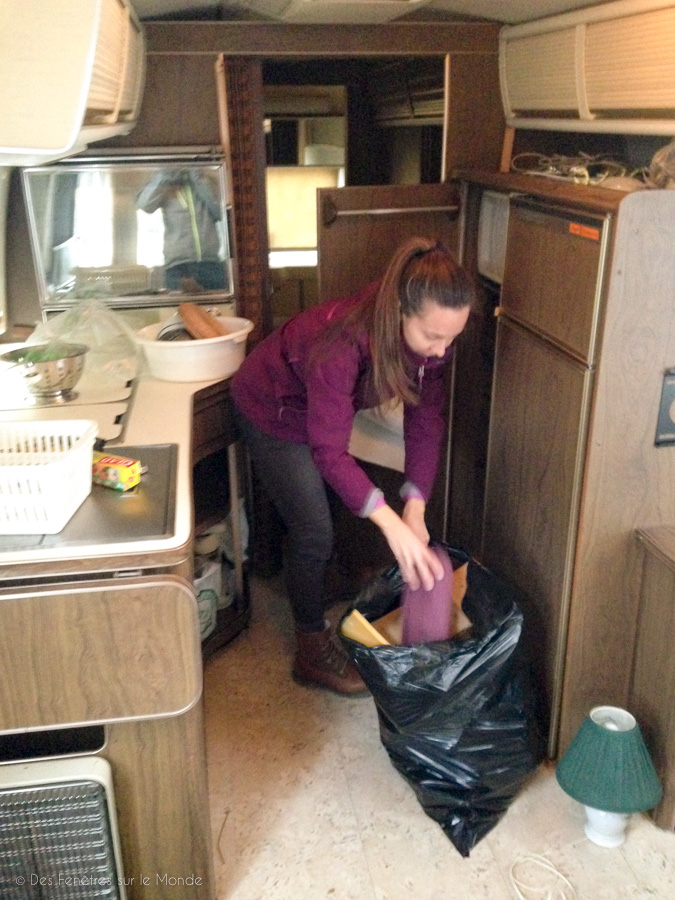
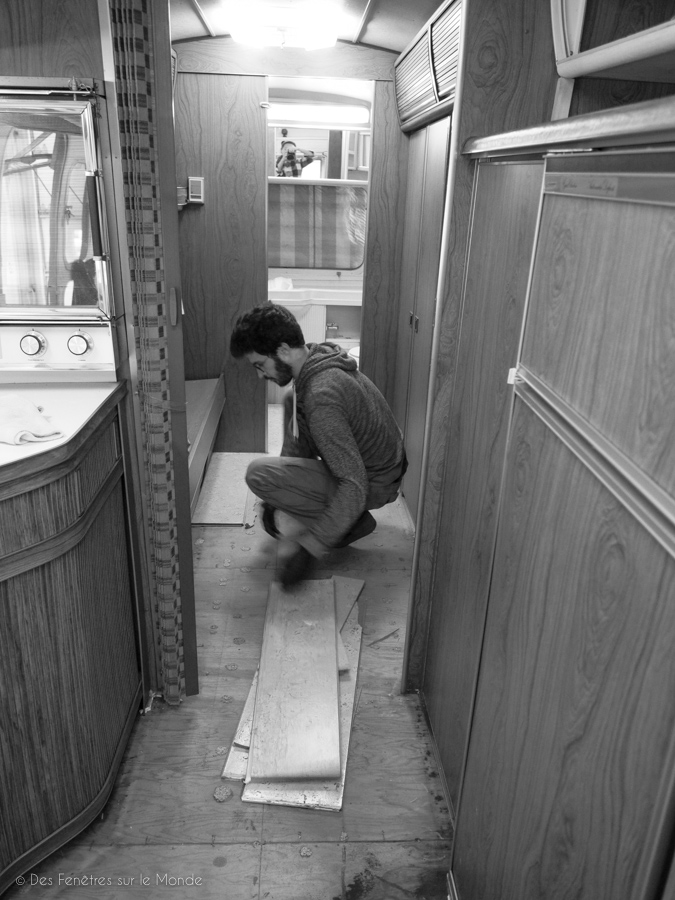
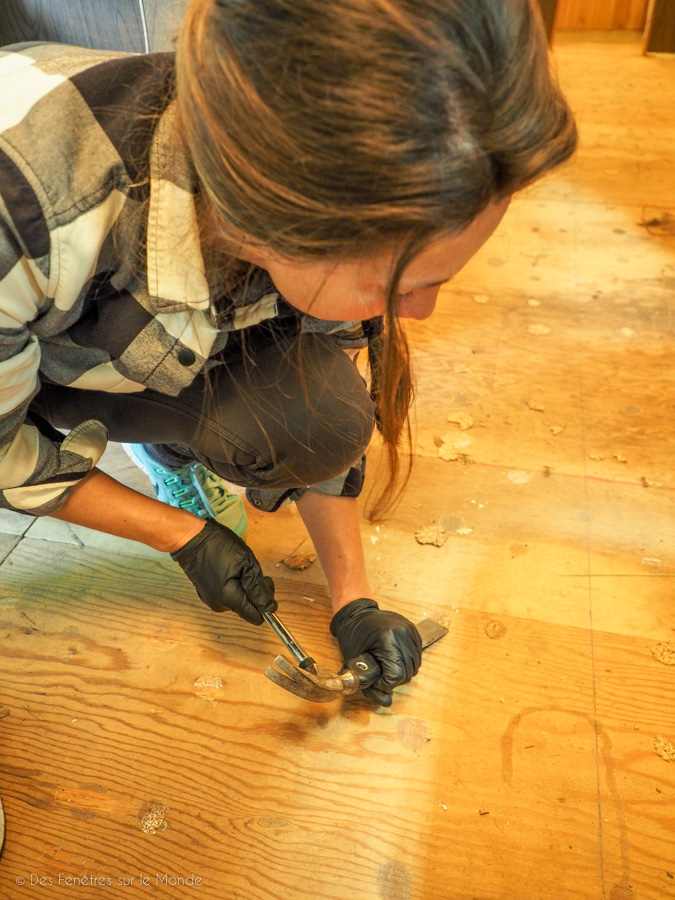
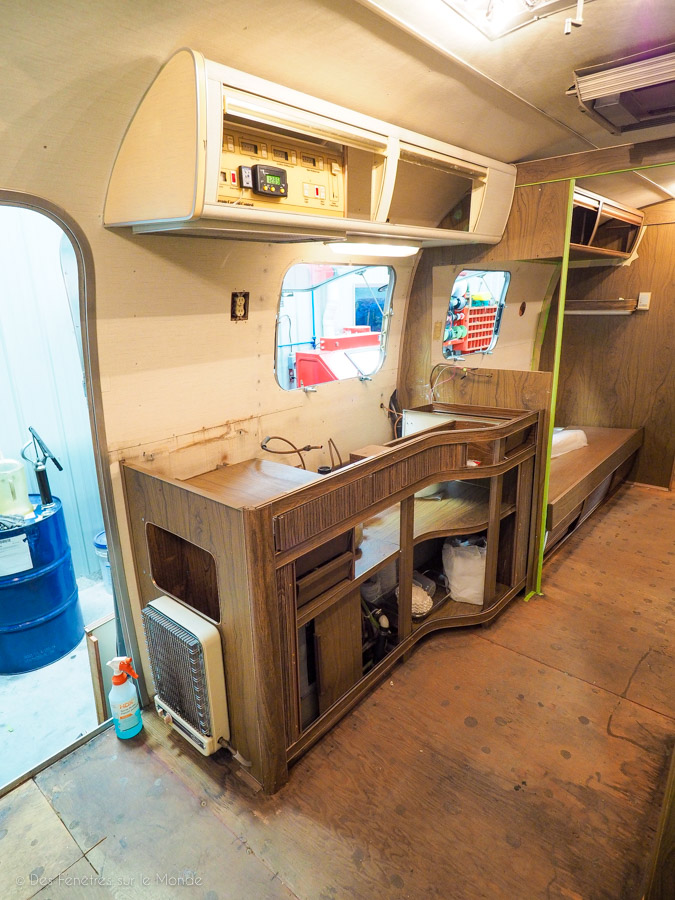
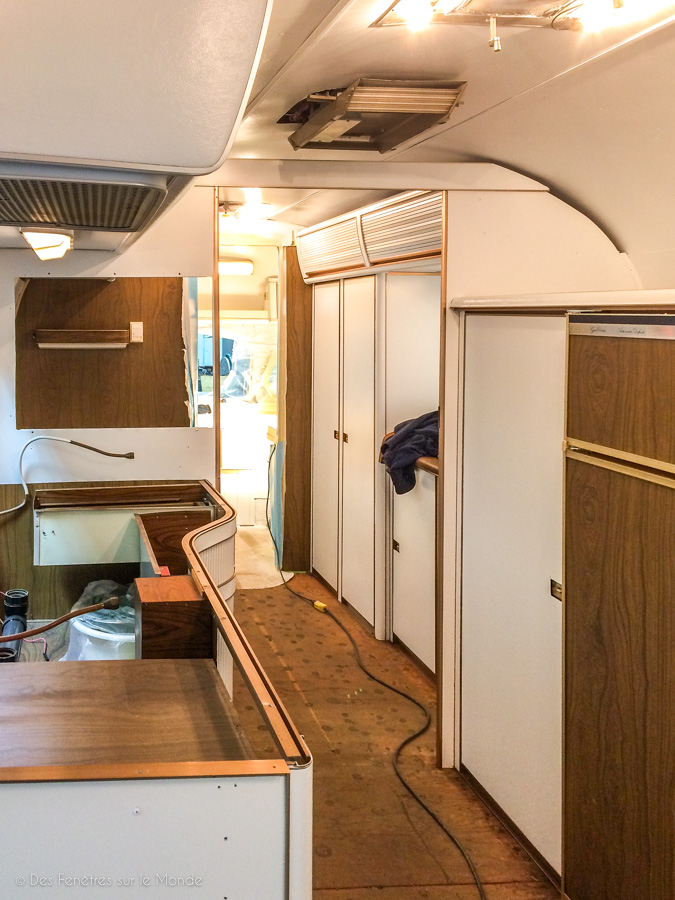
We remove the floor, some of the furniture, everything that interferes with painting or that must be repainted separately: light fixtures, table, accessories, curtains, profiles, fittings, oven, handles, window frames, socket surrounds, etc ... everything ends up outside!
But don't worry.
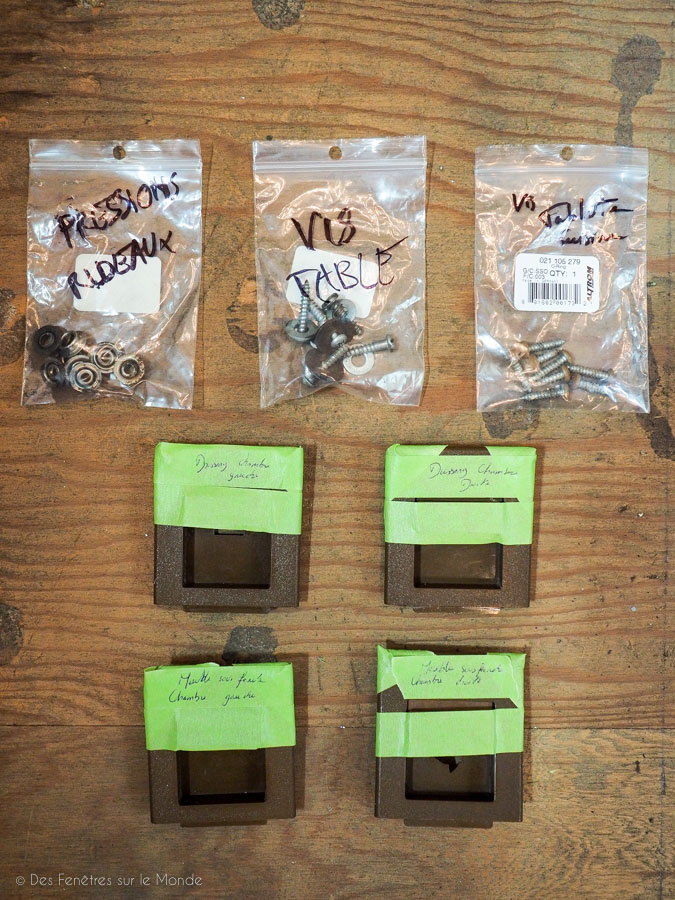
It's not the longest nor the hardest, but we realize the task to be accomplished... We took good care to arrange the small items and screws in separate bags with a note on their locations.
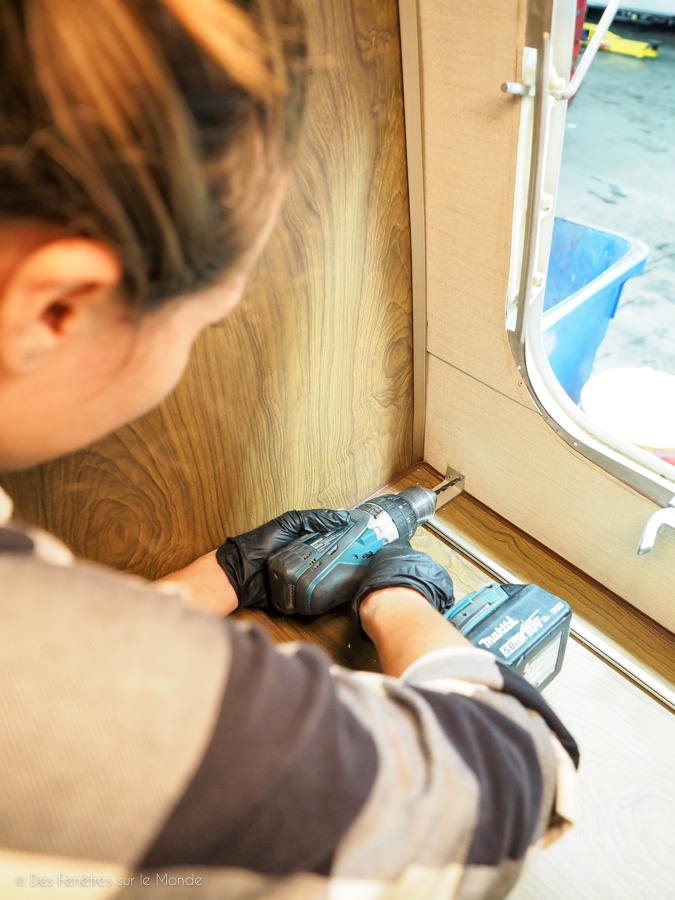
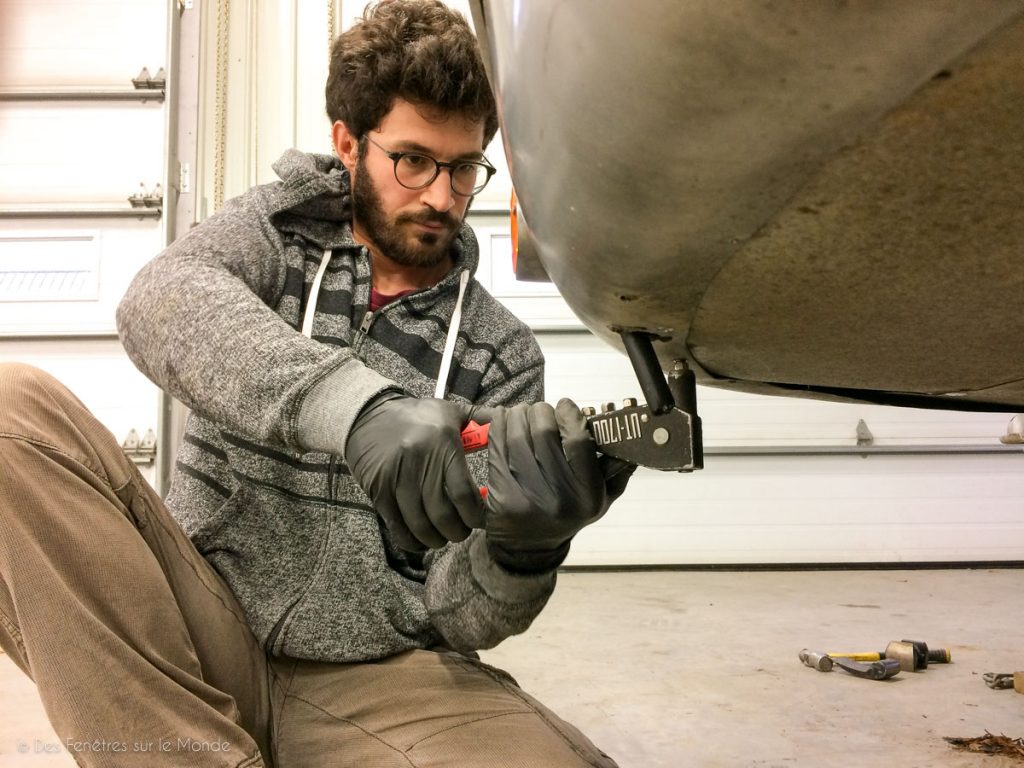
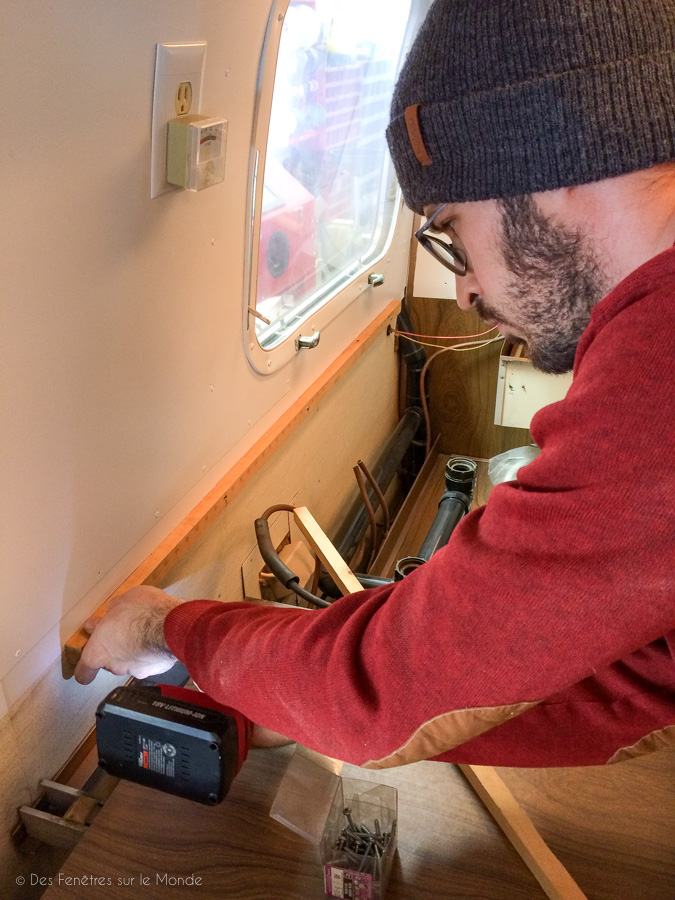
Nearly everything is riveted in an Airstream. We therefore often use the drill to blow up the rivets, being careful not to slip and damage the rest. We also took the opportunity to tour the places where rivets had jumped. We must not forget to put it back in the reassembly.
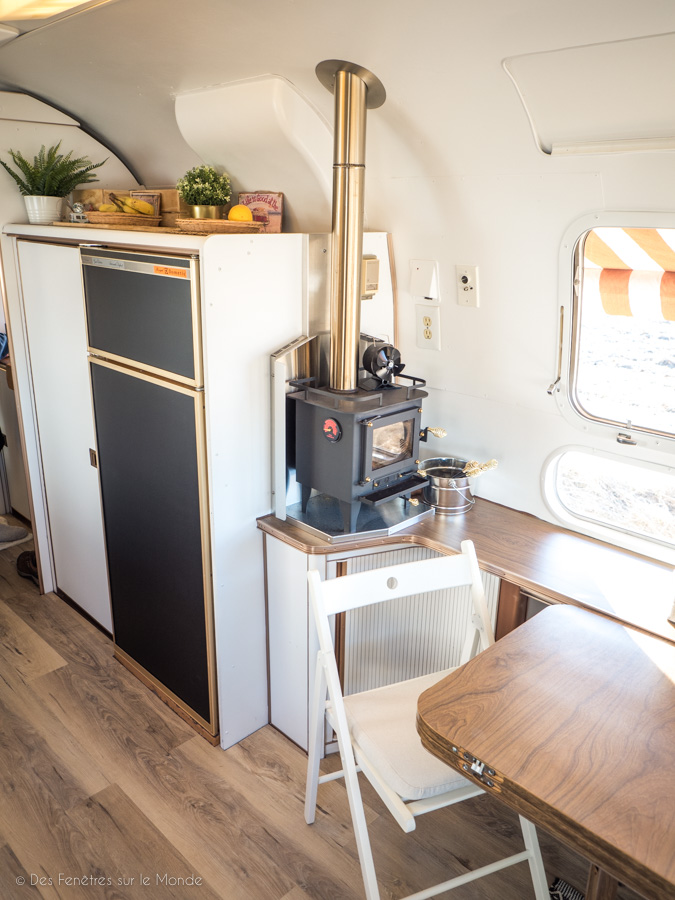
We made the choice of remove the furniture above the refrigerator, according to us and for us too ... Visually the space will be clearer and therefore more enjoyable and we can more easily put things on it.
Ditto for the aluminum profiles that hide the roller blinds (which does not roll any more elsewhere), in the living room. Too heavy to the eye, we clean! Hop.
The kitchen worktop also goes into recycling, it is twisted and the plating is half off. We can say that he has had his day ...
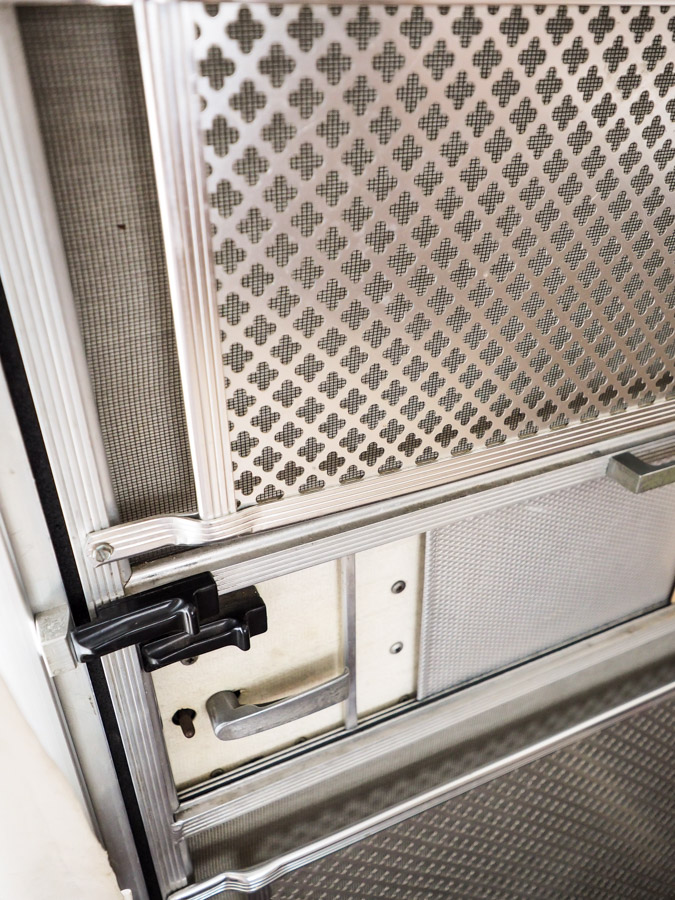
We also remove mosquito nets, useless in winter and cut us a little too light. We will hand them in due time ...
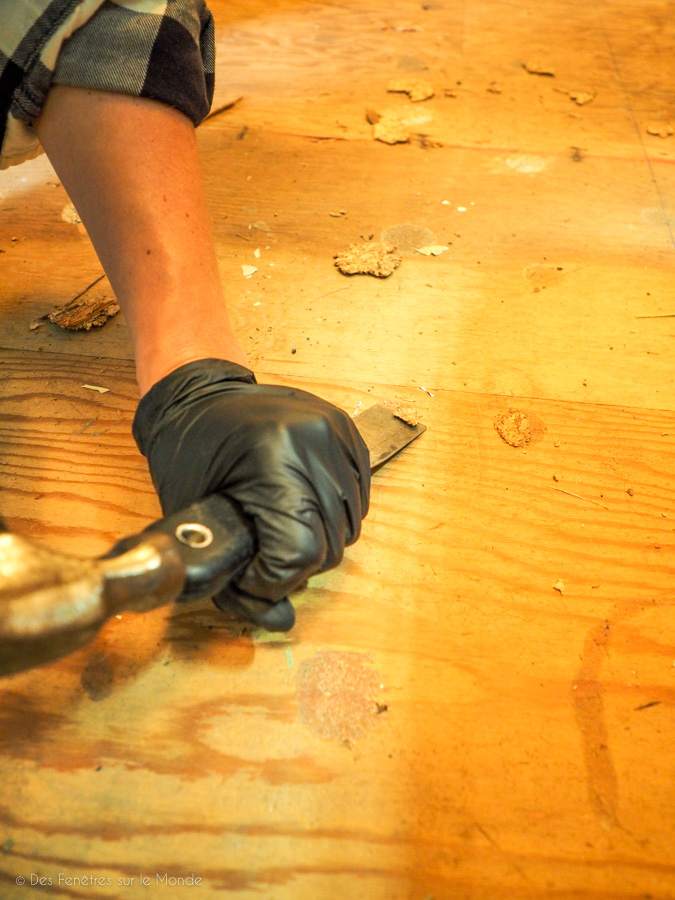
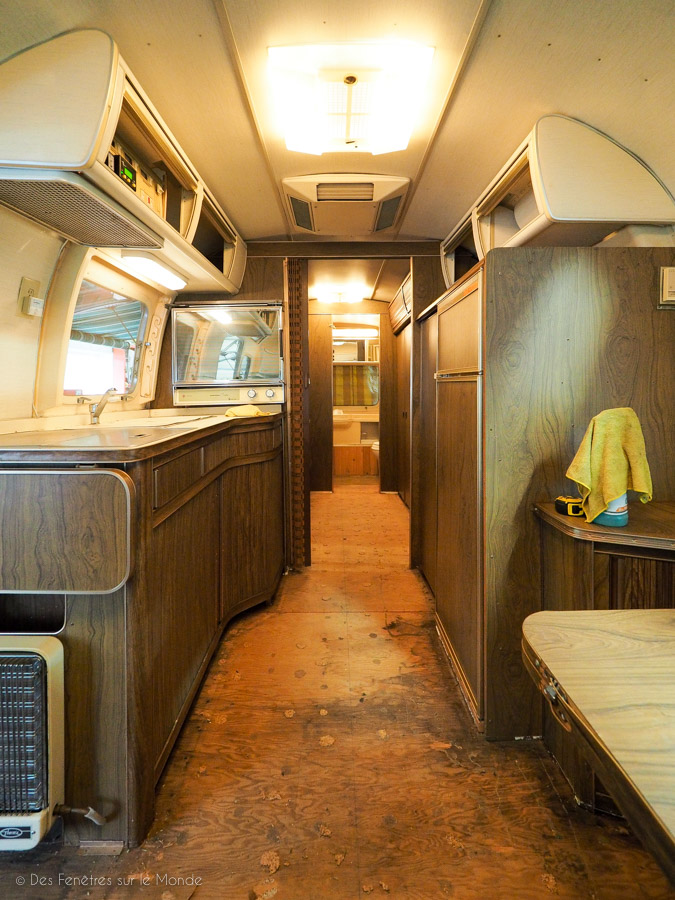
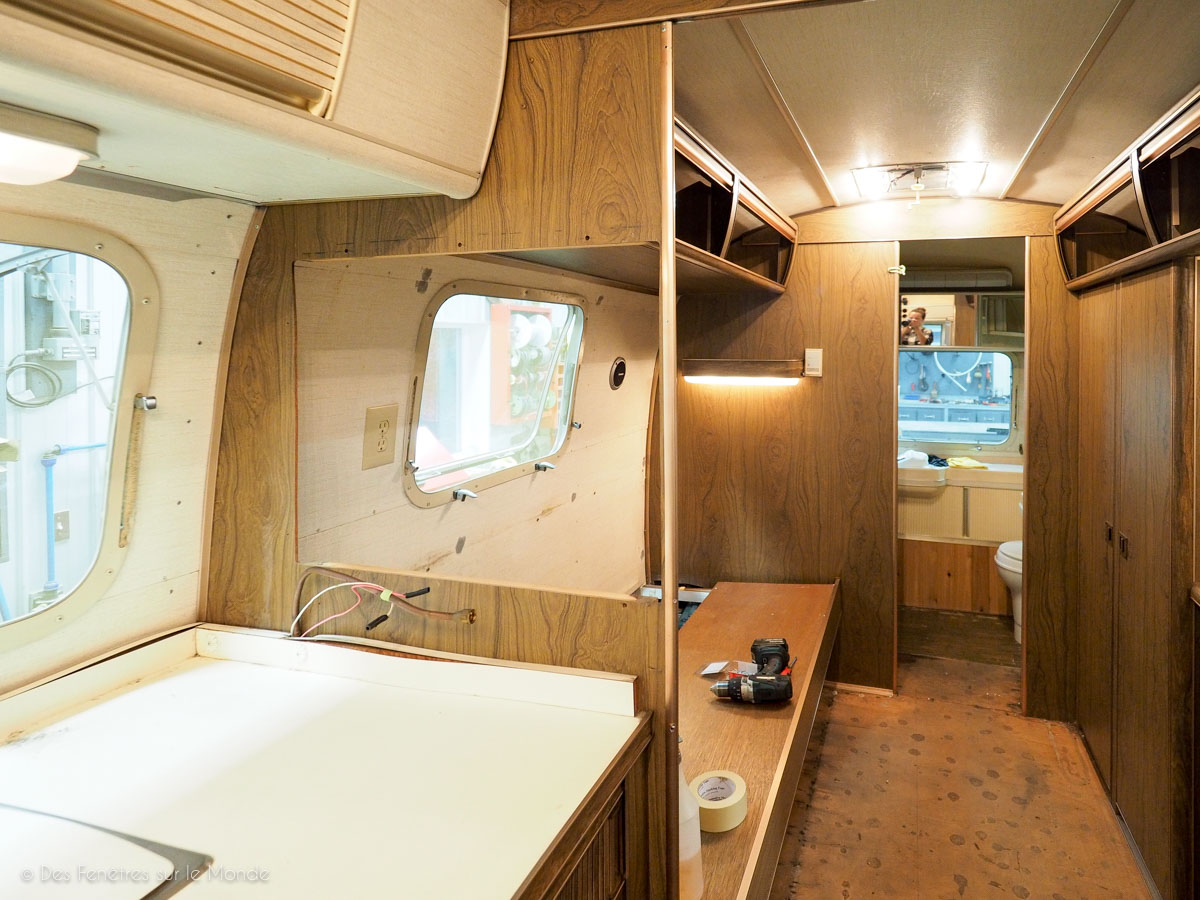
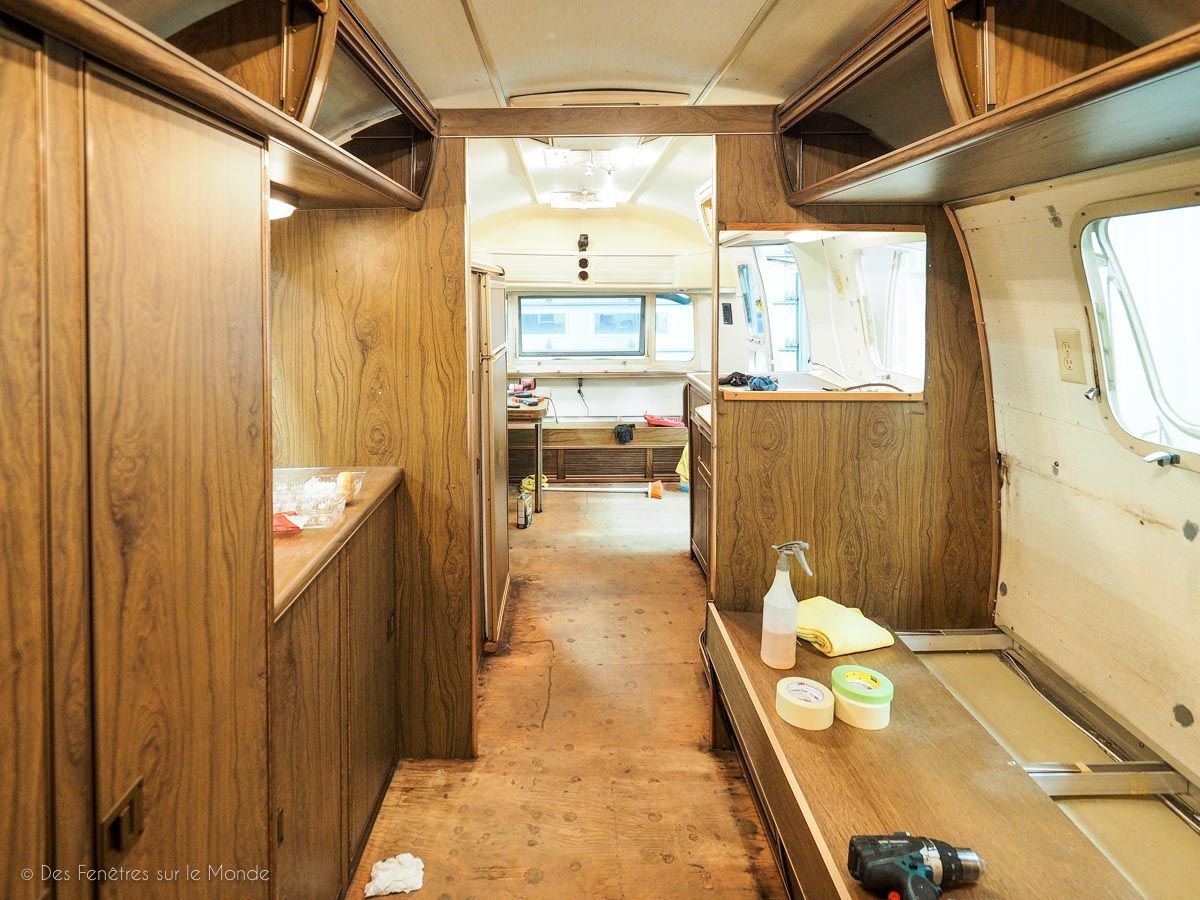
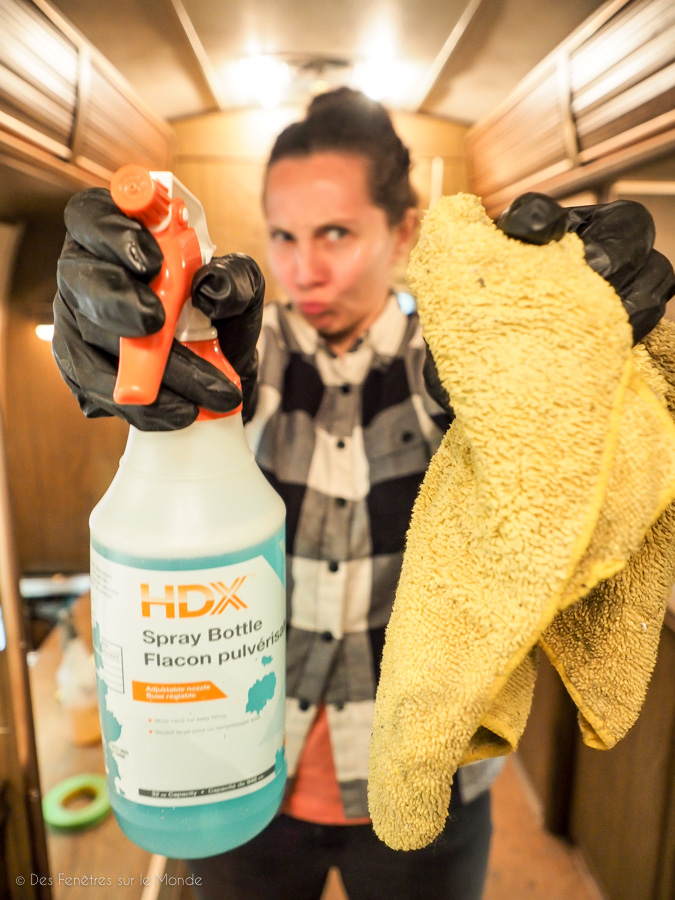
Cleaning ! We will repaint everything we rub all the walls, furniture, etc ... with a cleaning product before painting. It degreases the surface and prepares it to receive the primer.
It does not look like that but it's an exhausting job, our shoulders remember it again! We take the opportunity to rub in all closets and nooks.
The product is not toxic but good, after a while, by dint of having your nose in there all day, it still makes your head spin a bit.
We therefore take breaks outside by repairing a few odds and ends: a missing rivet here and there, a sheet to be taken up, a joint to be re-stuck, etc.
The preparation ... So that's a job! This will largely determine the quality of the final rendering. Frankly, we spent so many hours on this part that we lost the notion of time ... 1 day, 2 days, 3 days, maybe more, we do not remember!
By cons no sanding, or very little, the surfaces are mat and grainy, and the primer that we will use next is of quality.
We did a test on a small invisible part, which we scraped a few days later and it holds really well! Phew, we're going to save time…
Yes because outside, the snow was already there and we shouldn't drag. We work 14 hours a day ...
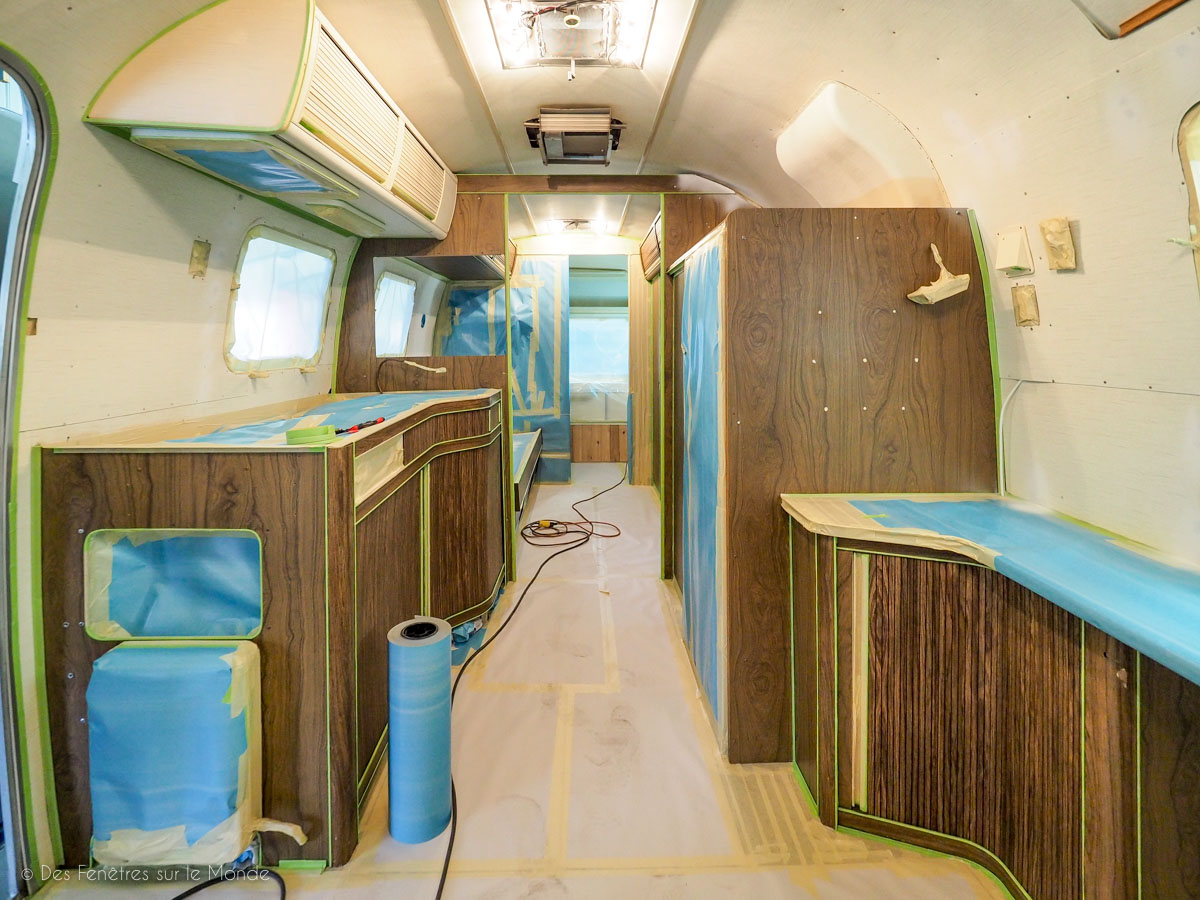
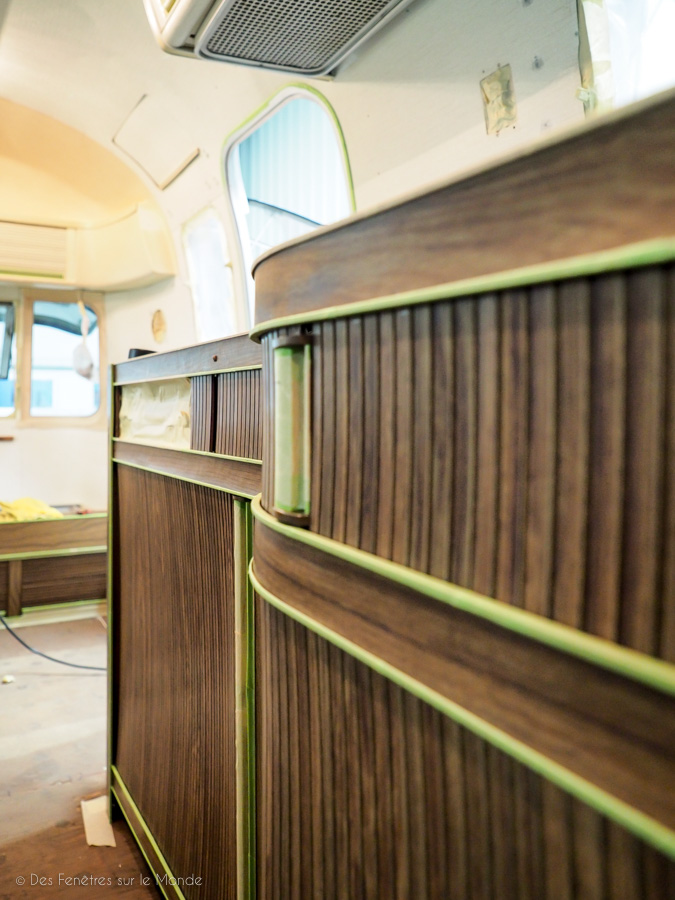
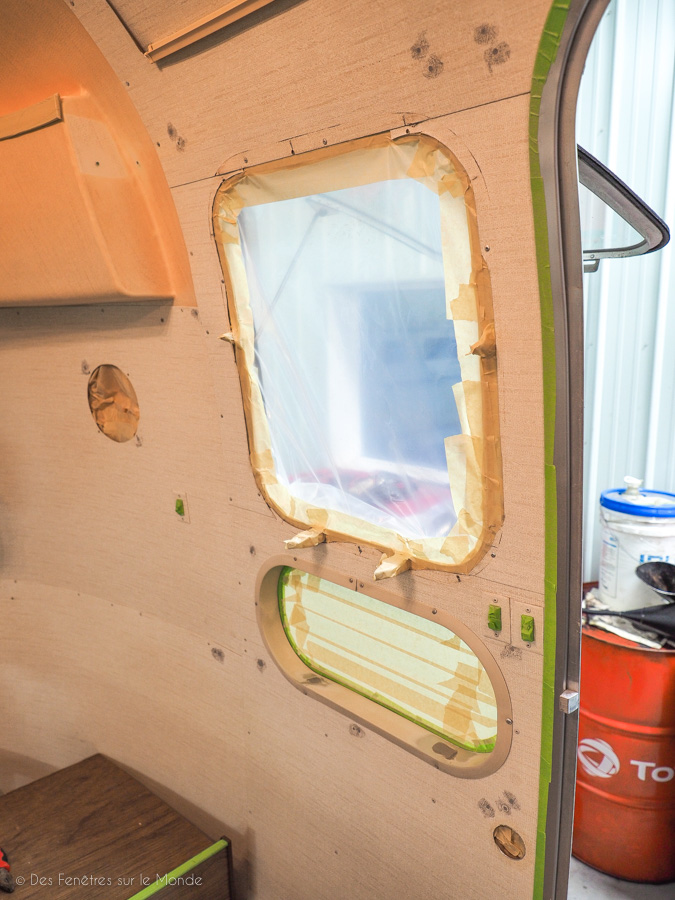
The idea is going to be repaint all in white. But to make it fun and to keep the original style a bit, we have masked everything (yes everything), the aluminum profiles. This will bring in and reveal all the details and sit the "finished" side of the interior. Do you understand the job better now? And, believe us, it's even longer than you can imagine ...
Well ! Got there, the Airstream looks more like a scene from Dexter than anything else !
Everything is covered: interior of cupboards, floor, moldings and profiles, windows, etc.
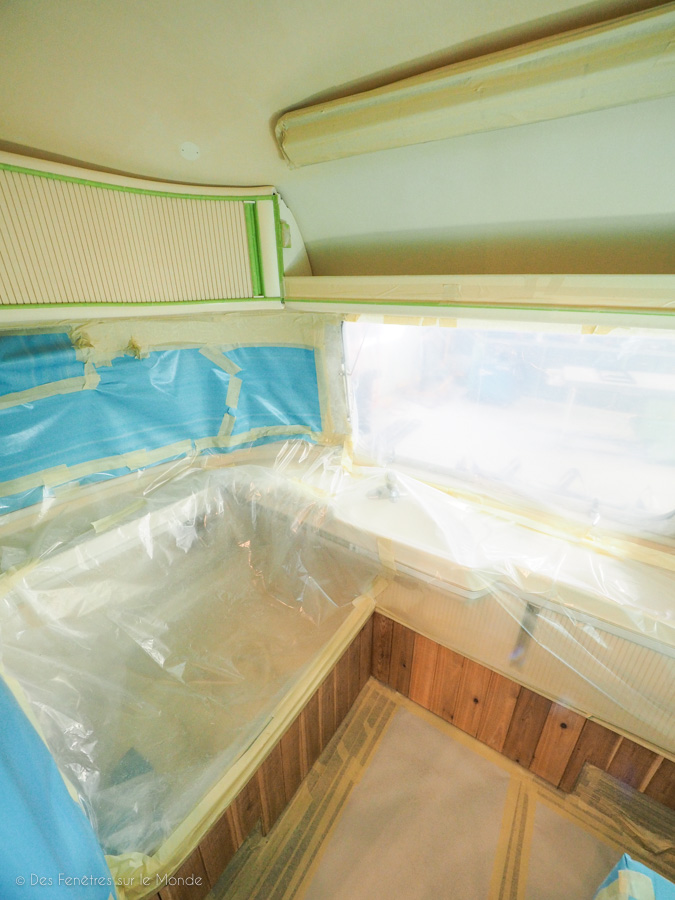
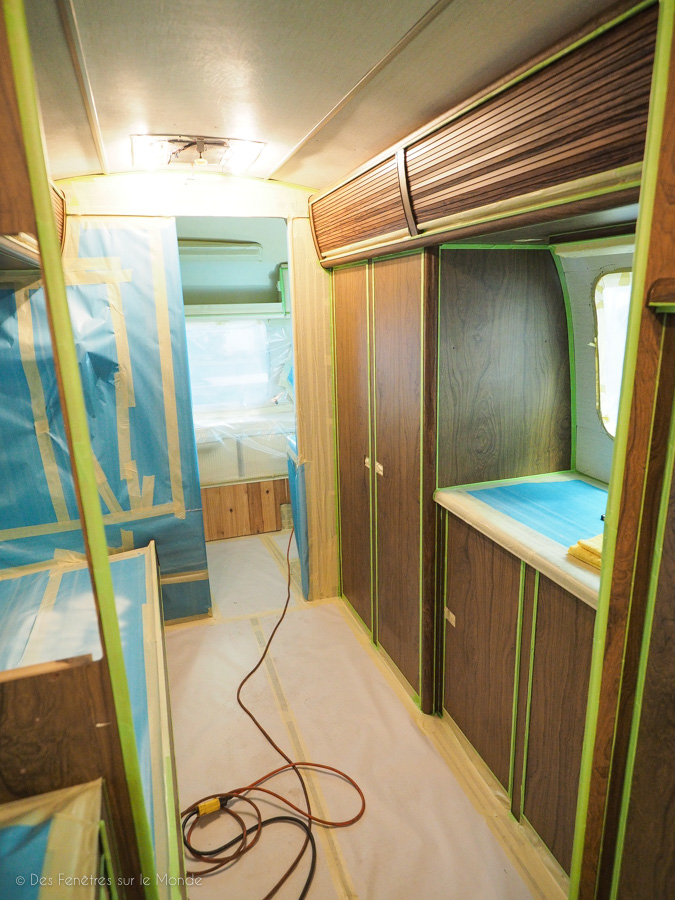
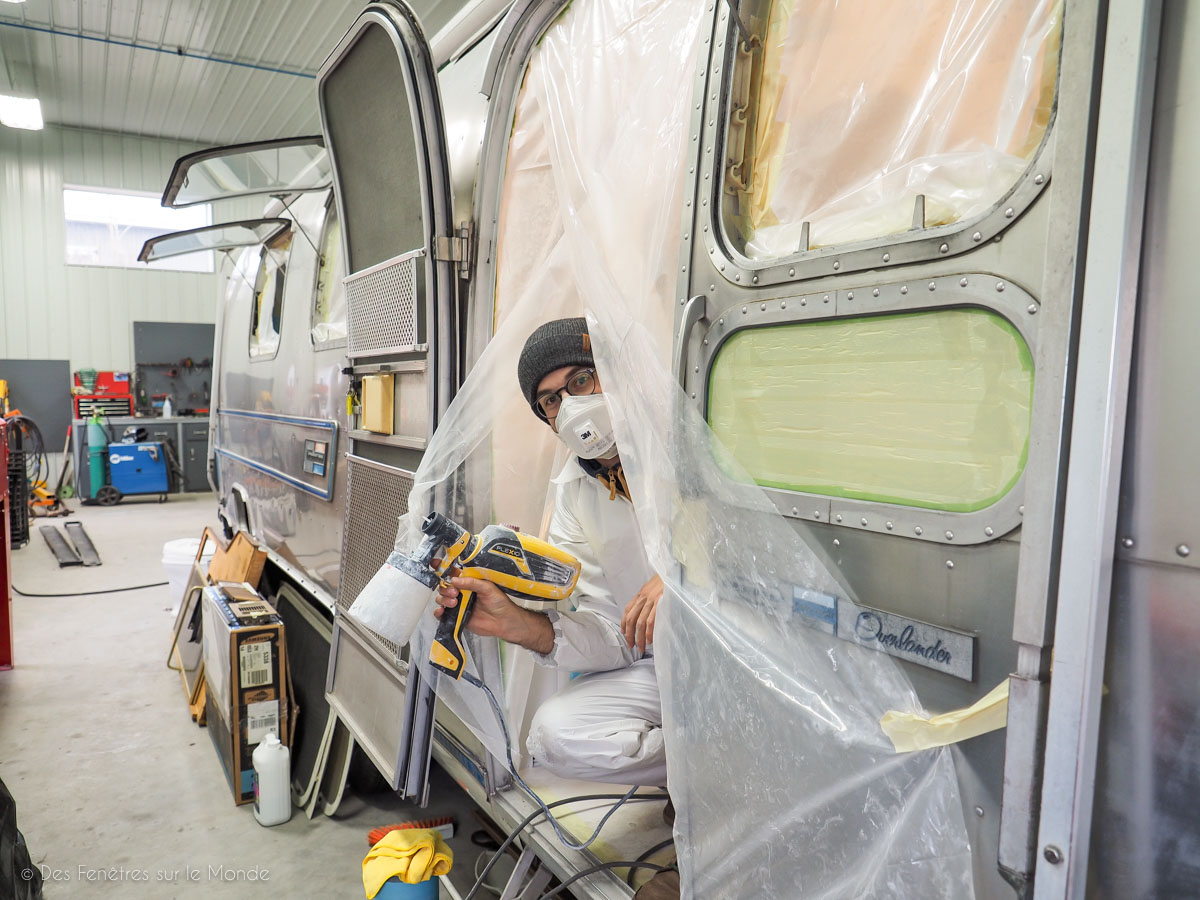
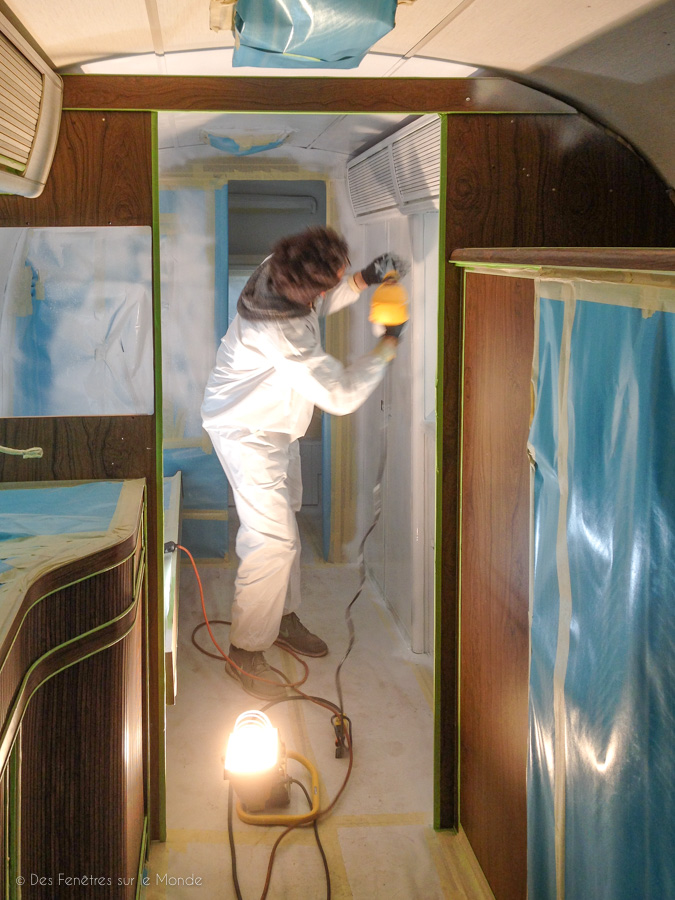
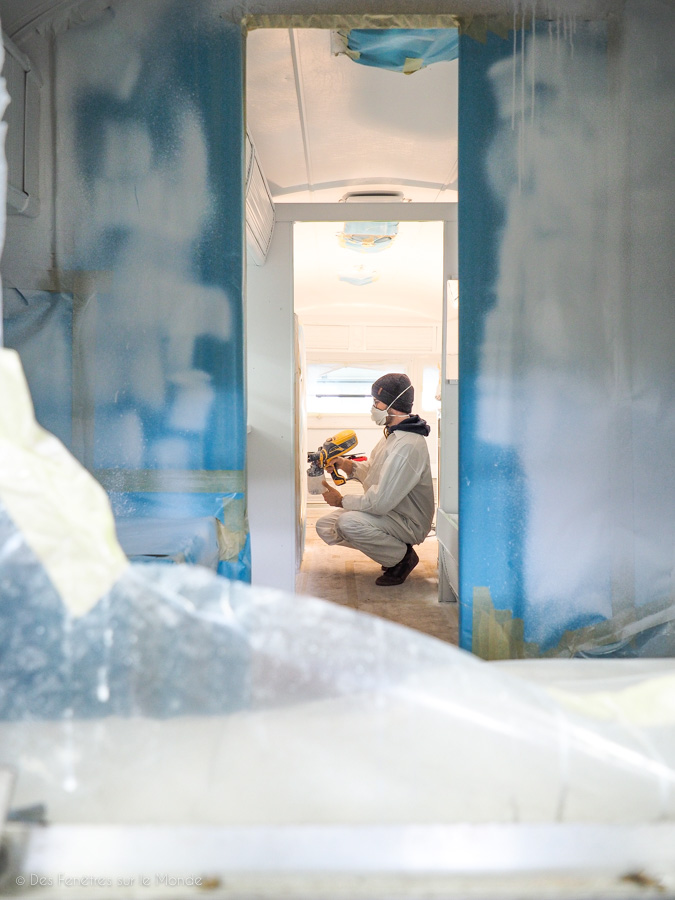
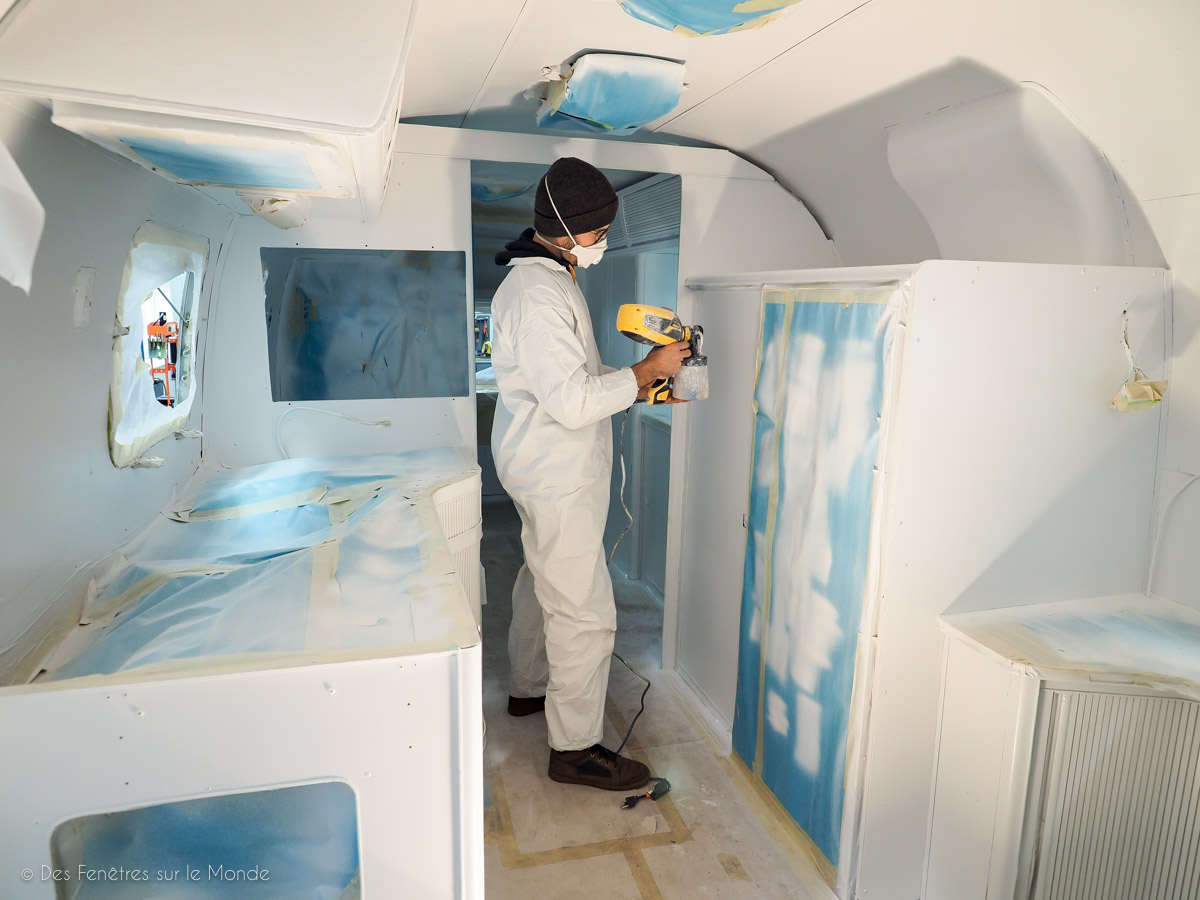
It's time to don our cosmonaut suits to paint.
For this step we invested in an electric sprayer. This is what is recommended for the type of primer and paint we have chosen. (We still tried the airgun but it does not work well at all).
This will allow us to have a perfect finish and stretch! You really should not forget anything to cover, it might put everywhere.
1st layer: the primer. It is a special primer for melamine furniture. It is also used for wall surfaces which are made of aluminum covered with a kind of lightly textured plating / plastic film. It covers so well that we only put one layer.
Now we are starting to realize that we are radically changing the interior and that the trailer will be very clear. That's good, that's what we want!
Our only small apprehension, concerns the behavior in time of the new finish of the roller doors of the cupboards. (The test after a winter is quite conclusive!)
2nd layer painting: We wait until the next morning to apply the first coat of paint, then a second coat in the evening. It would be almost a rest if in the meantime there were not also all the small elements that we previously removed to prepare and repaint them too.
Phew, it's done! No dripping with the gun, everything looks good. The hardest part is not leaning with your buttocks on what you just painted on one side while doing the other. The space is small, so you have to be careful. Basically, while one is painting, the other is watching for nonsense and lighting it up properly.
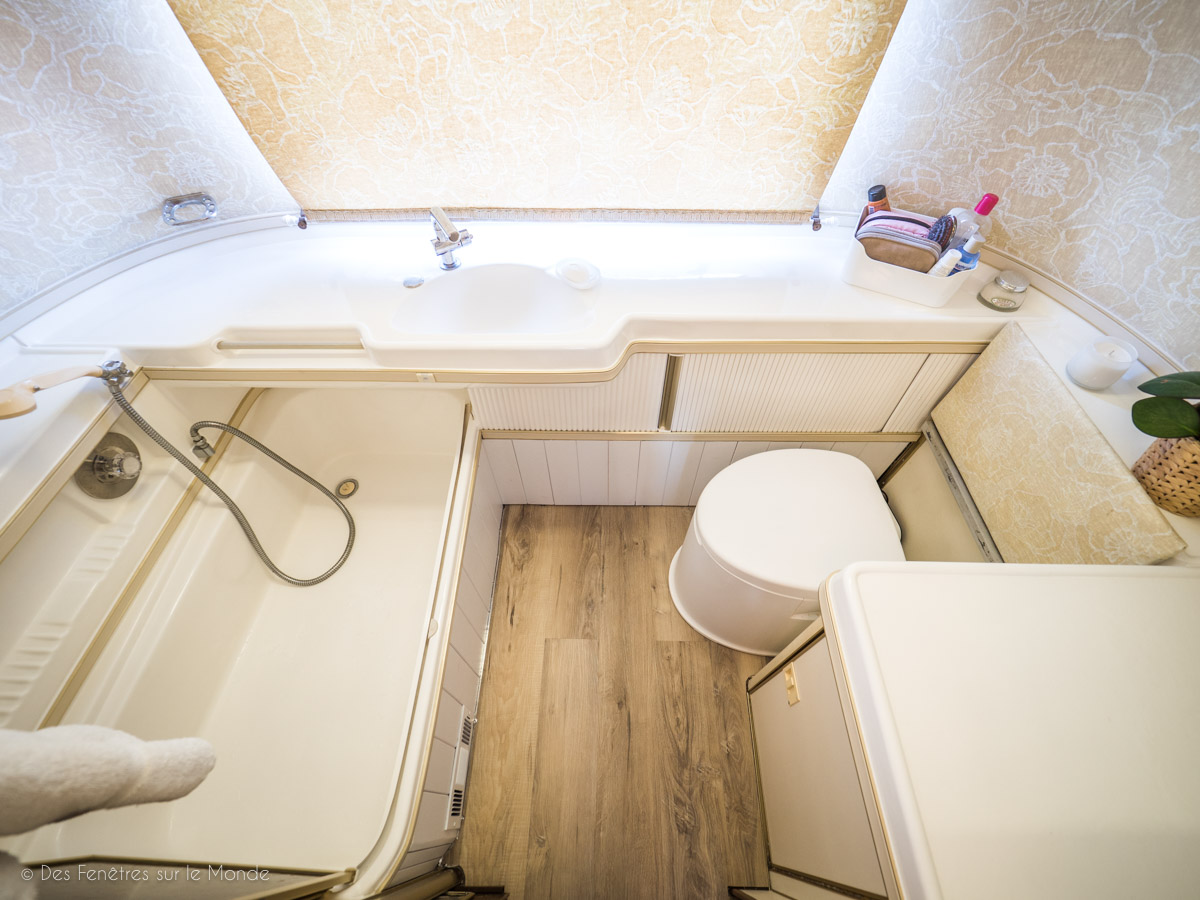
We go through The bathroom now to paint the bathtub (yes, you remember, the height of luxury haha), and the countertop with the built-in sink.
For that, we used a special enamelled paint renovation for showers / bathtubs / sinks. It is planned for this purpose, very white, washable and especially waterproof.
The preparation is a bit long, it must be sanded and degreased. It is fiberglass so you have to go quiet anyway.
It's a two-component paint : base / color and hardener / activator. You have to mix both here 50/50. The second layer should be affixed between 2 and 4h after the first under penalty of having to sand everything again ...
We did it with an air pistol. The finish is perfect, but the vapors are unbearable. On the box, it says to do this in a ventilated place. But, with a pistol, we advise you rather outside with a bodybuilder cartridge mask!
With a brush (the roller is not advised, do not ask us why), it must be more bearable, although the smell is strong enough. But you would have to compare the finish to see the difference with the gun.
In any case it really looks like the whole thing comes out of the Airstream factory! No more faded yellow!
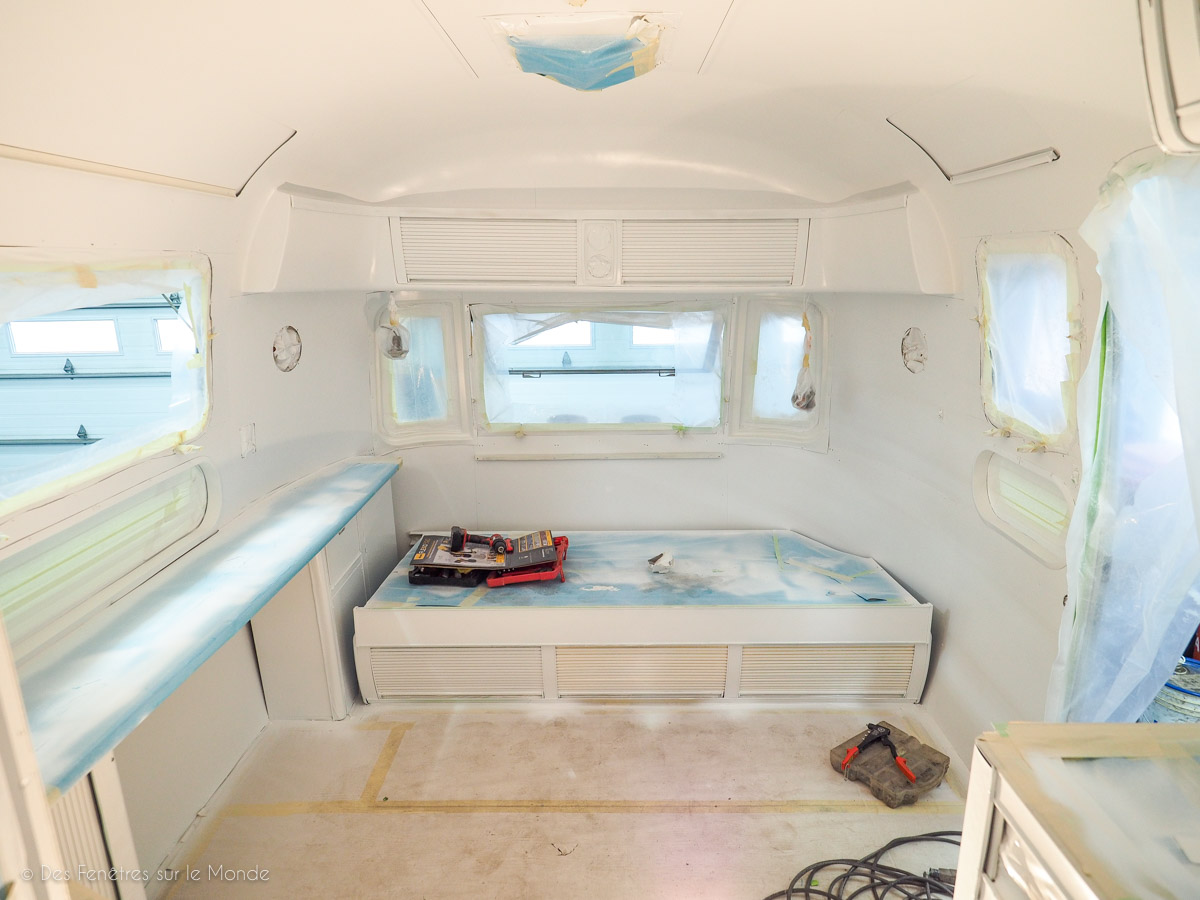
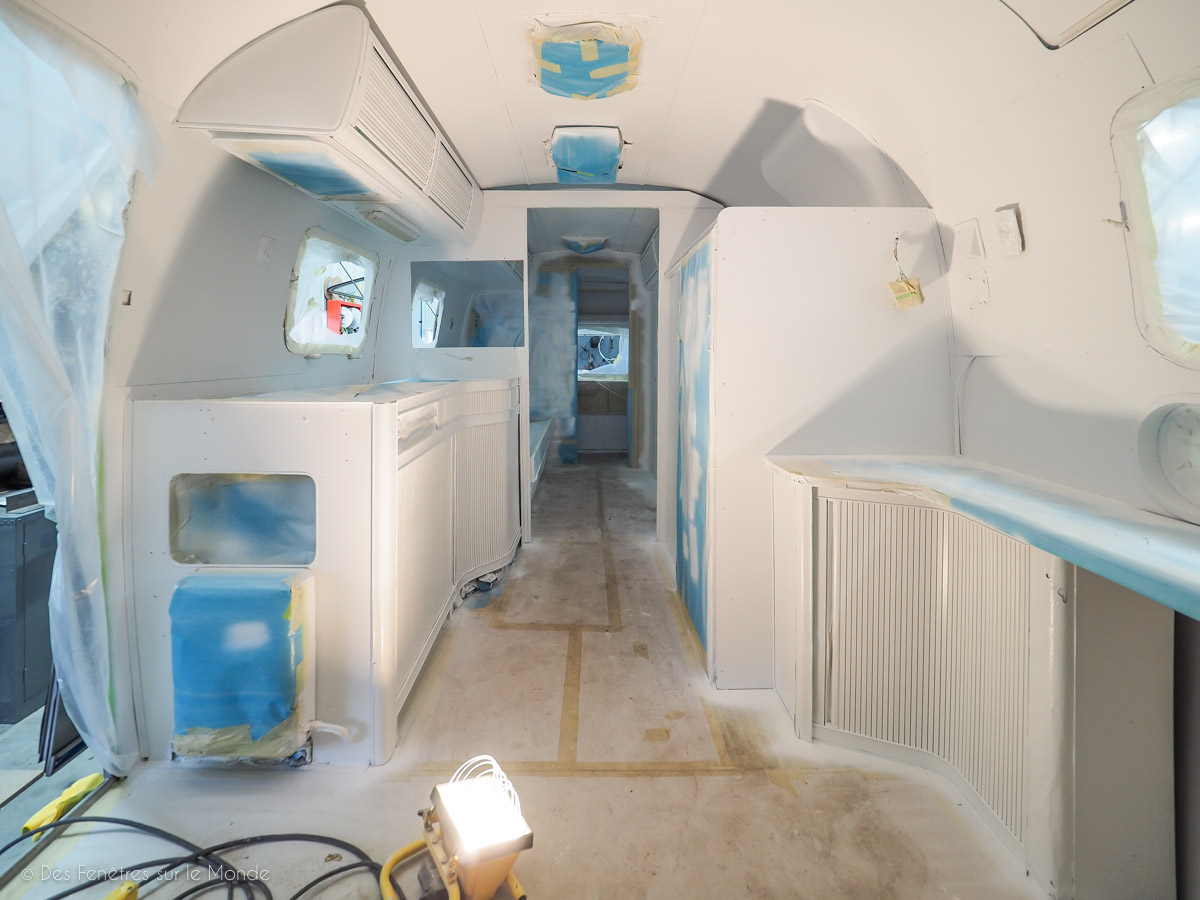
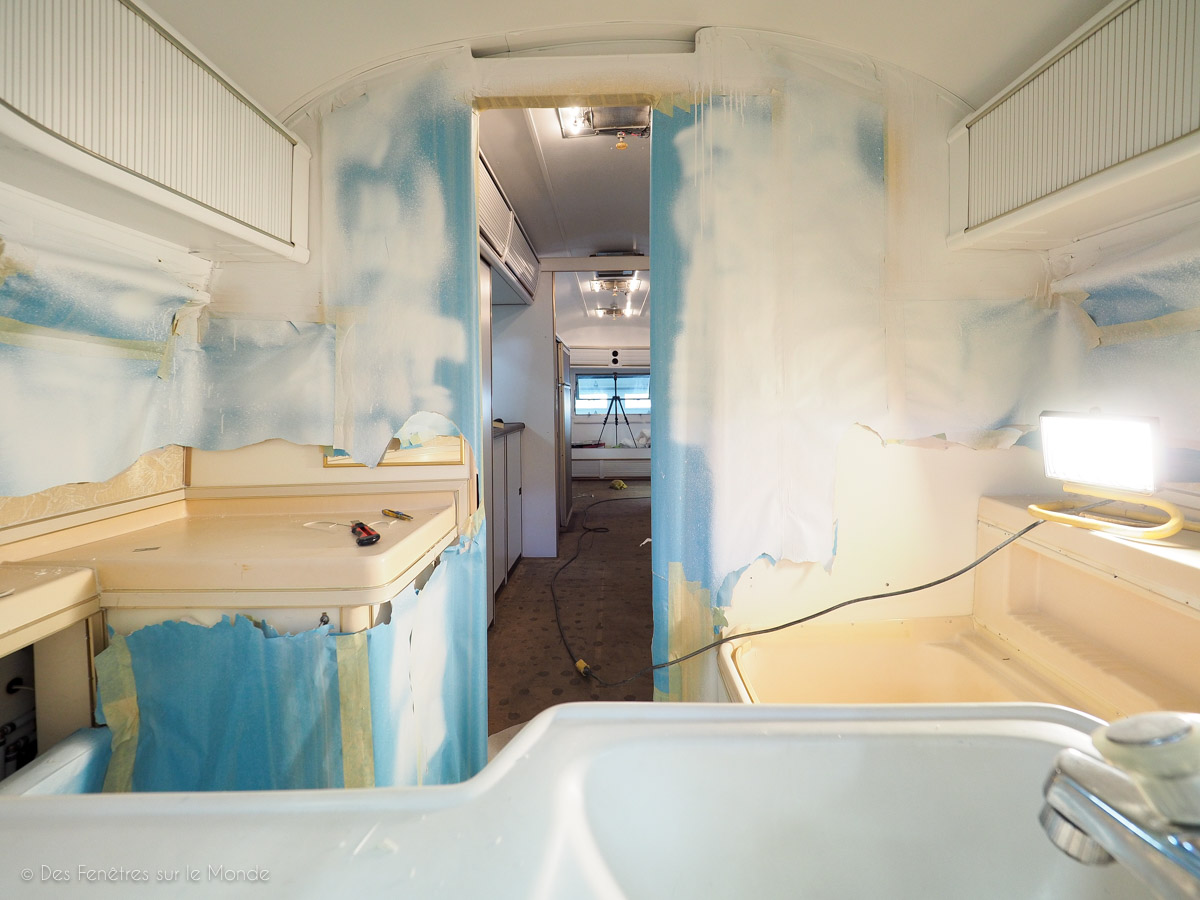
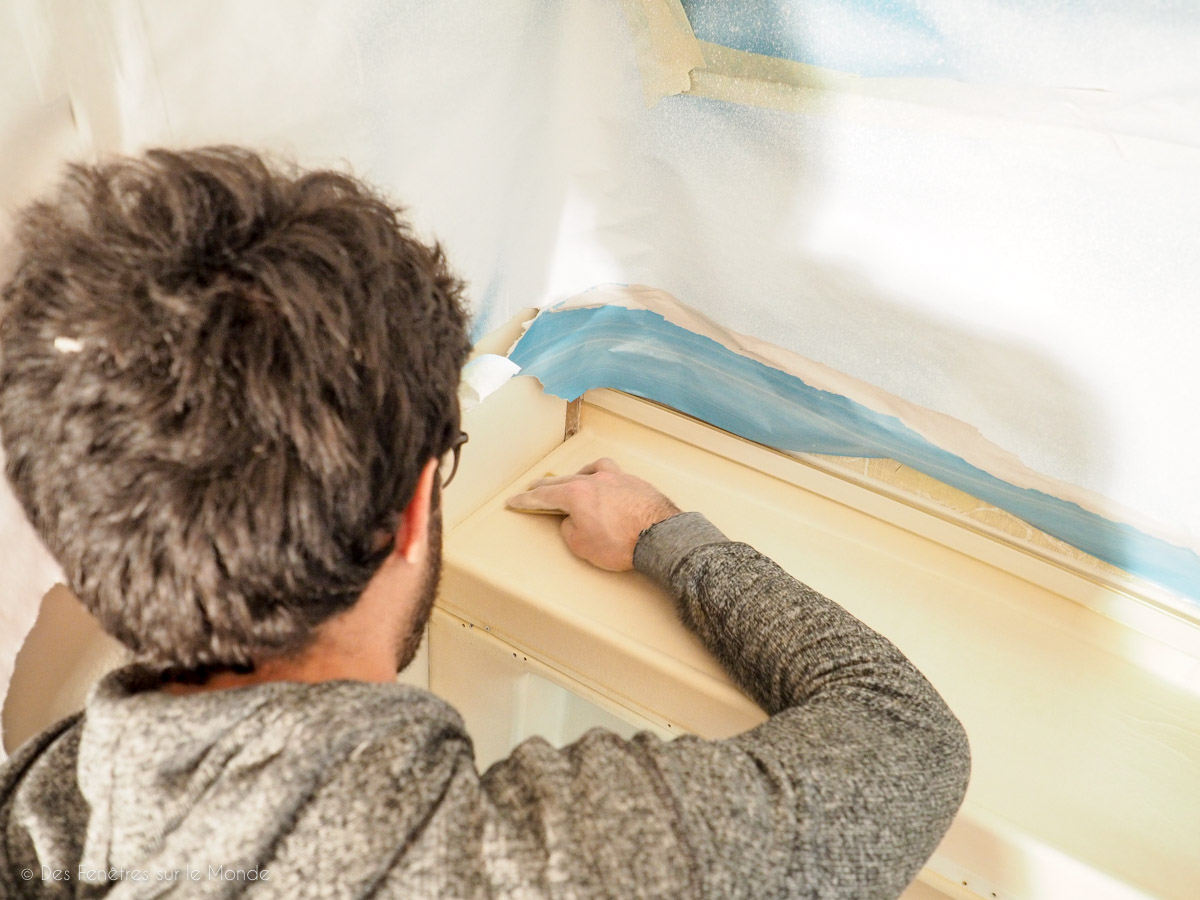
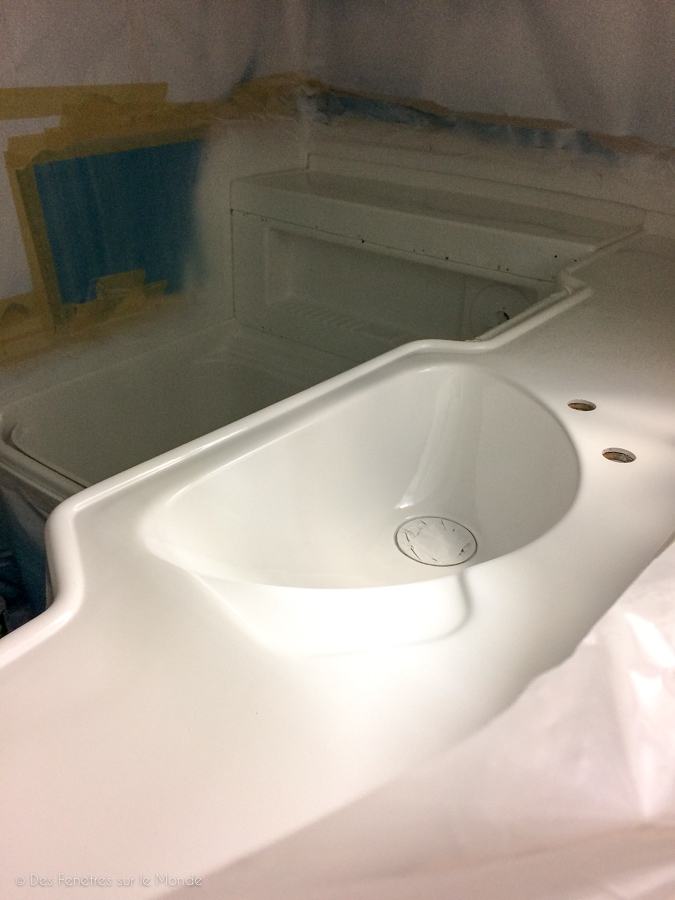
This is where we see if we did the job of preparation.
We had spotted two or three places where the masking tape had taken off between the coat of primer and those of paint, normally it would have been necessary to change all the tape between each layer, but it would also have taken 3 days each time to put back some. Finally, apart from a few places where the paint went under, it is perfect!
A little blow of cutter or diluent and hop we see only fire! What a pleasure to remove all this tape and finally see the final result!
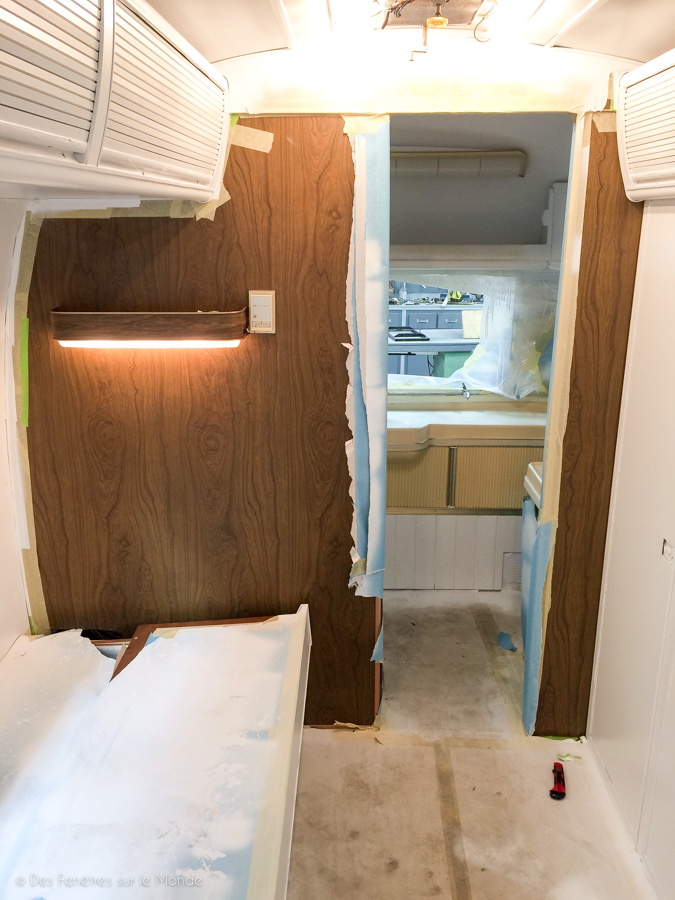
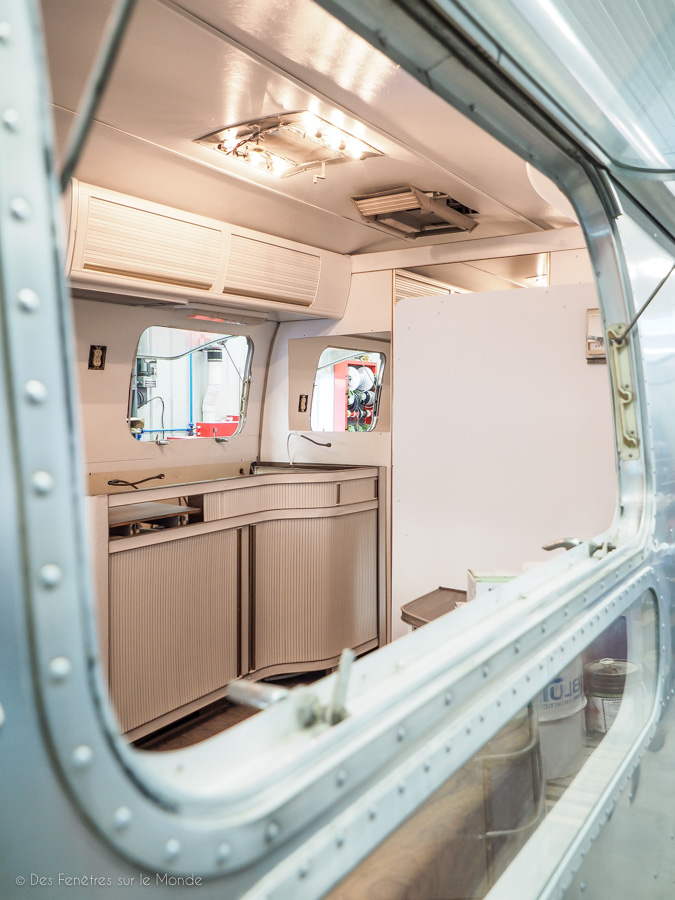
It's time to think about the soil ... We had great debates both: light or dark. It is well known that the two would have married well with the style now clean and white Airstream. But we kept the headboard with original wood as well as the table and the living room tablet... So it had to combine well.
In the end, we mainly had to make a choice quickly and we turned to a clear floor, always for more brightness.
We told ourselves that we were going to spend the winter here, that it was going to be dark early so it was the best choice in our opinion (to tell the truth, we are still hesitating and we are trying to convince ourselves that we have made the right choice at the time of this writing (Hey! Hey!).
And then it must be said that we were also limited by time. Winter quickly arrived, some models about which we hesitated were not immediately available… Waiting was not possible!
We opted for a floor of vinyl slats that clip between them. They are very thin and very dense plastic slats, 100% waterproof and are resistant to temperature variation and humidity. The ideal for us here.
We first installed an under layer (some models have an integrated under layer), then we apply batten by batten. It took a night for Eric to install it completely (Yes, I abandoned it in the middle of the night, Morphé called me back to him)
The Airstream is not huge, but there are a lot of cuts and that takes time. Fortunately, the slats cut easily!
Of course, as always for a parquet floor, you have to leave an expansion joint, understand that there must be a space between the batten and the wall / wall. Hot, cold, movement (and yes it's still a trailer), materials move, work.
For finishing we will later put a silicone seal of the exact color of the floor.
We had well calculated our surfaces and our cuts, so level quantity, we were good, it does not even remain a latte!
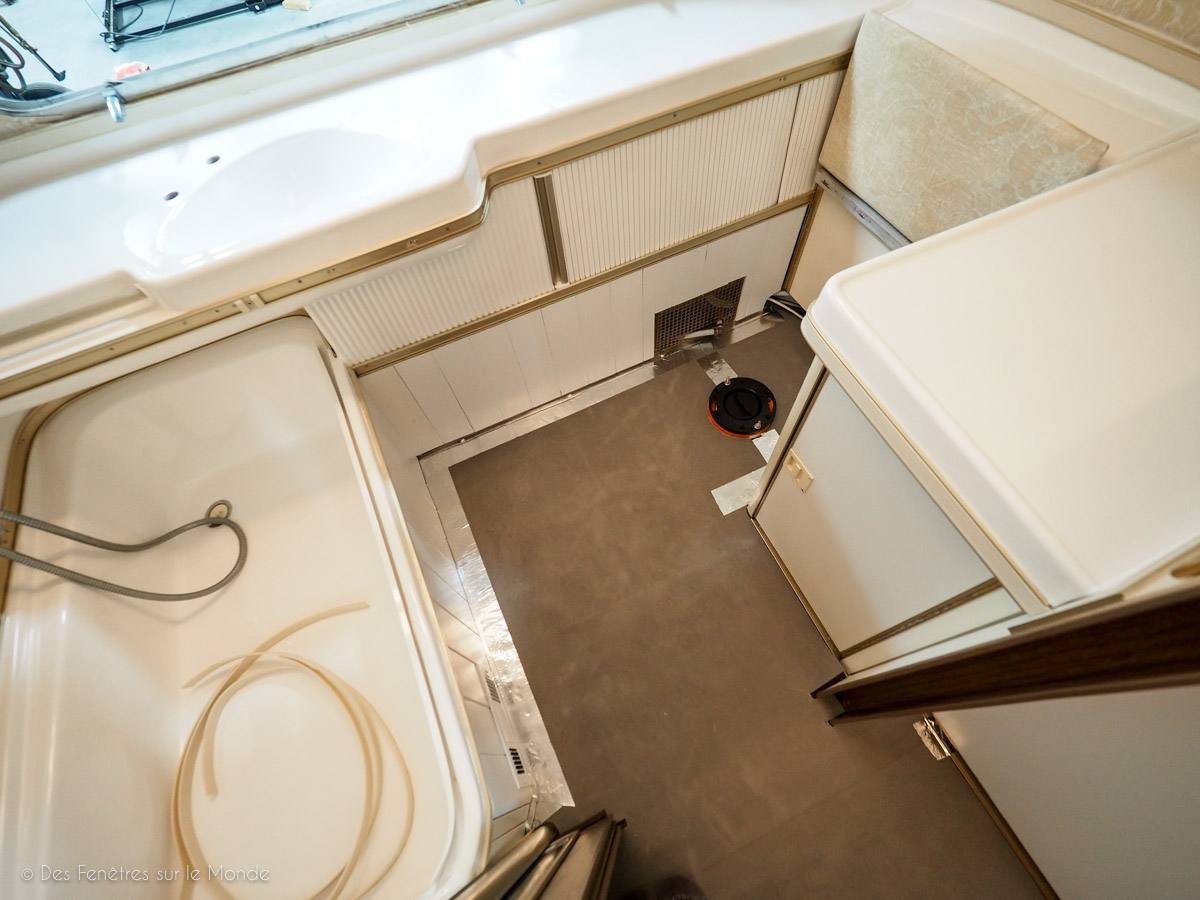
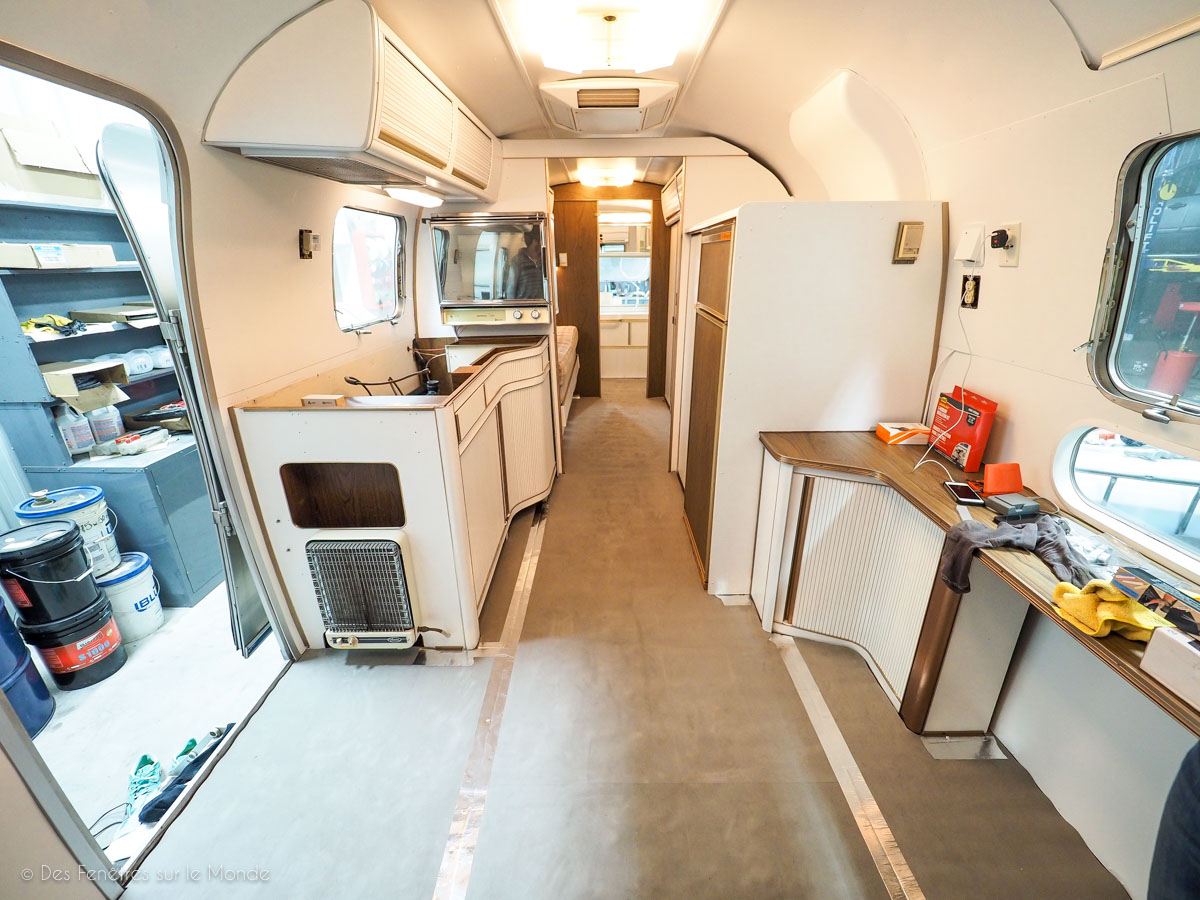
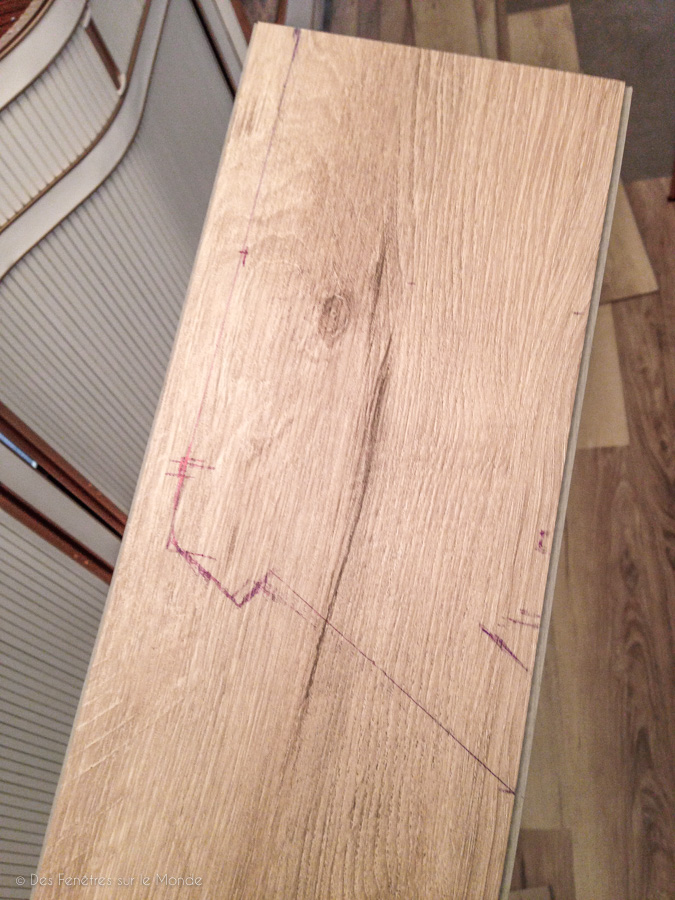
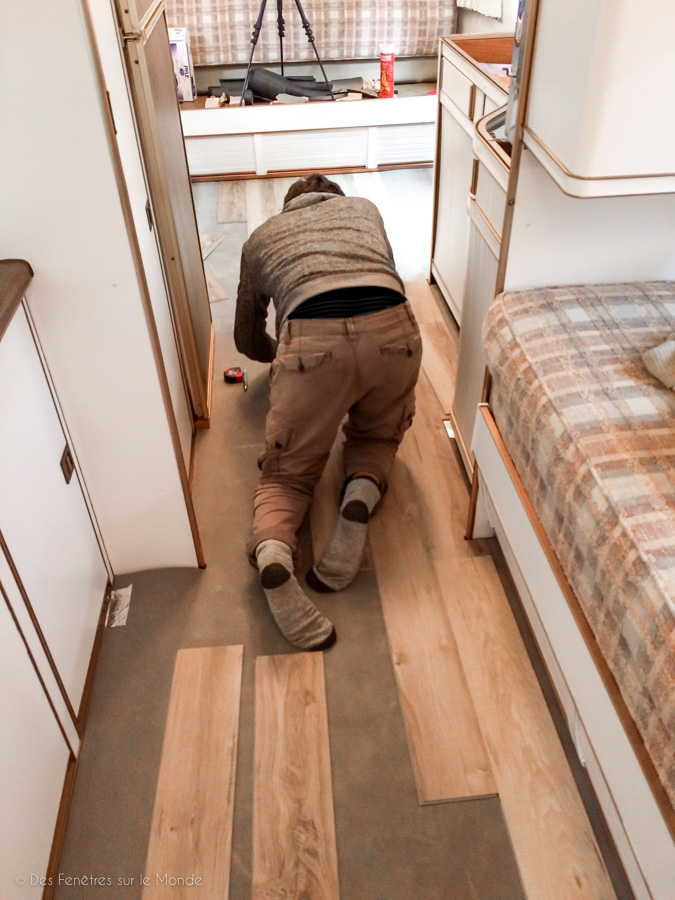
Our favorite part, even if it's long and tedious becausewe take the opportunity to clean everything thoroughly, repaint, repair everything, ...
But it's great to see the Airstream take shape little by little. It's all the details that make the difference.
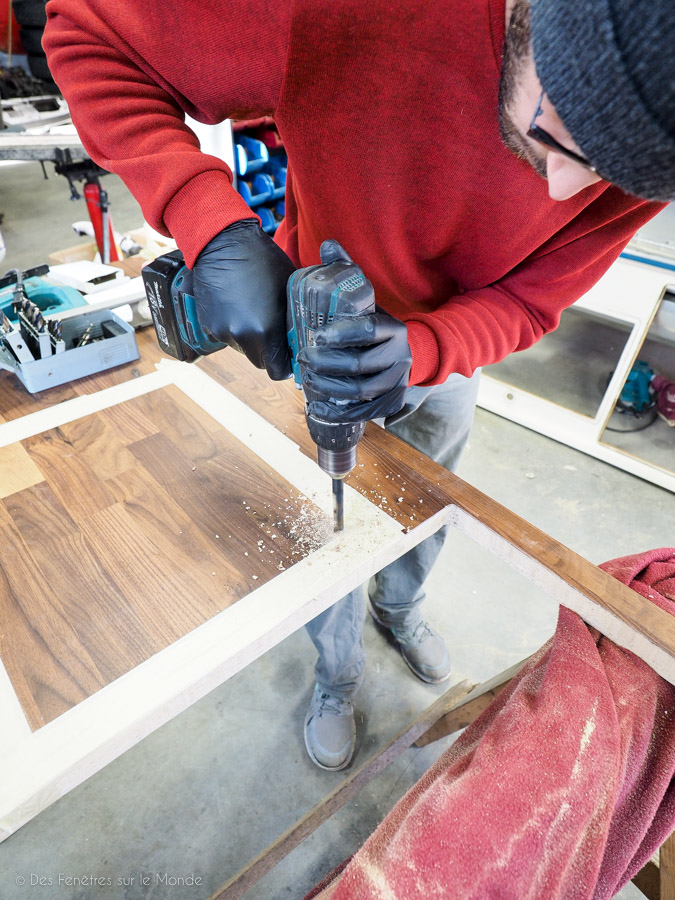
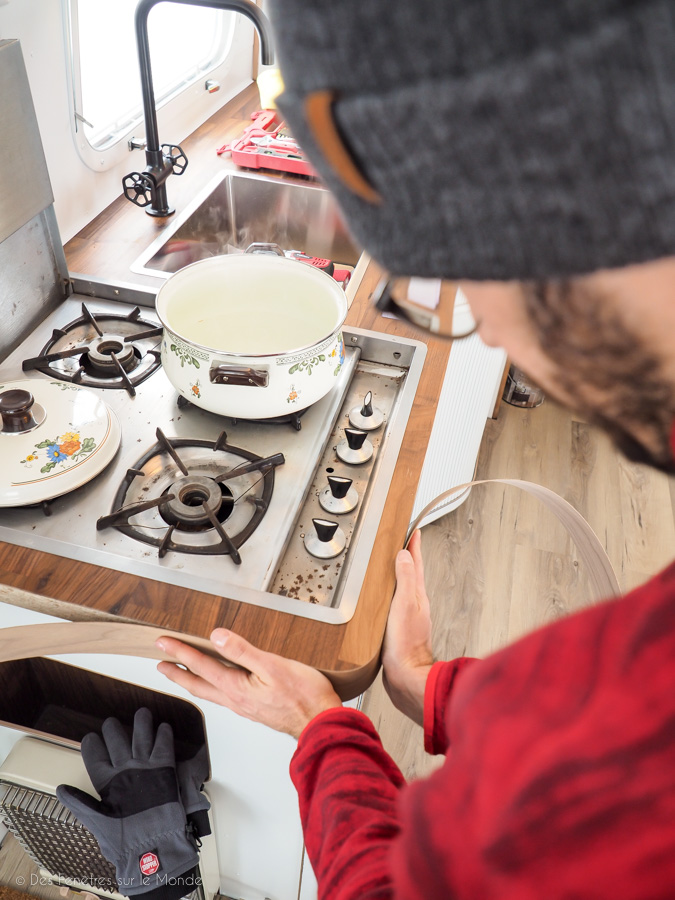
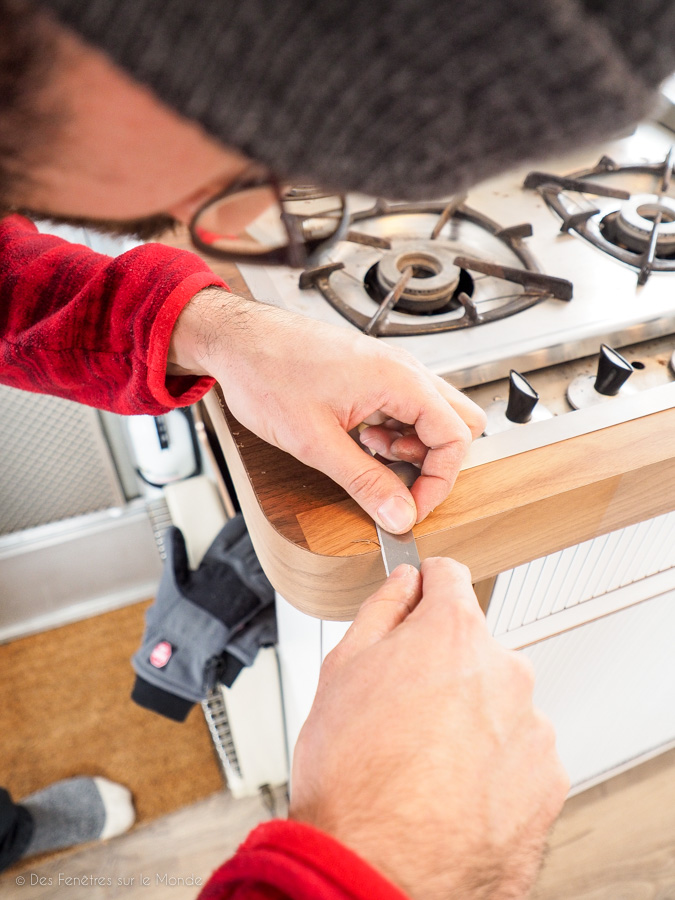
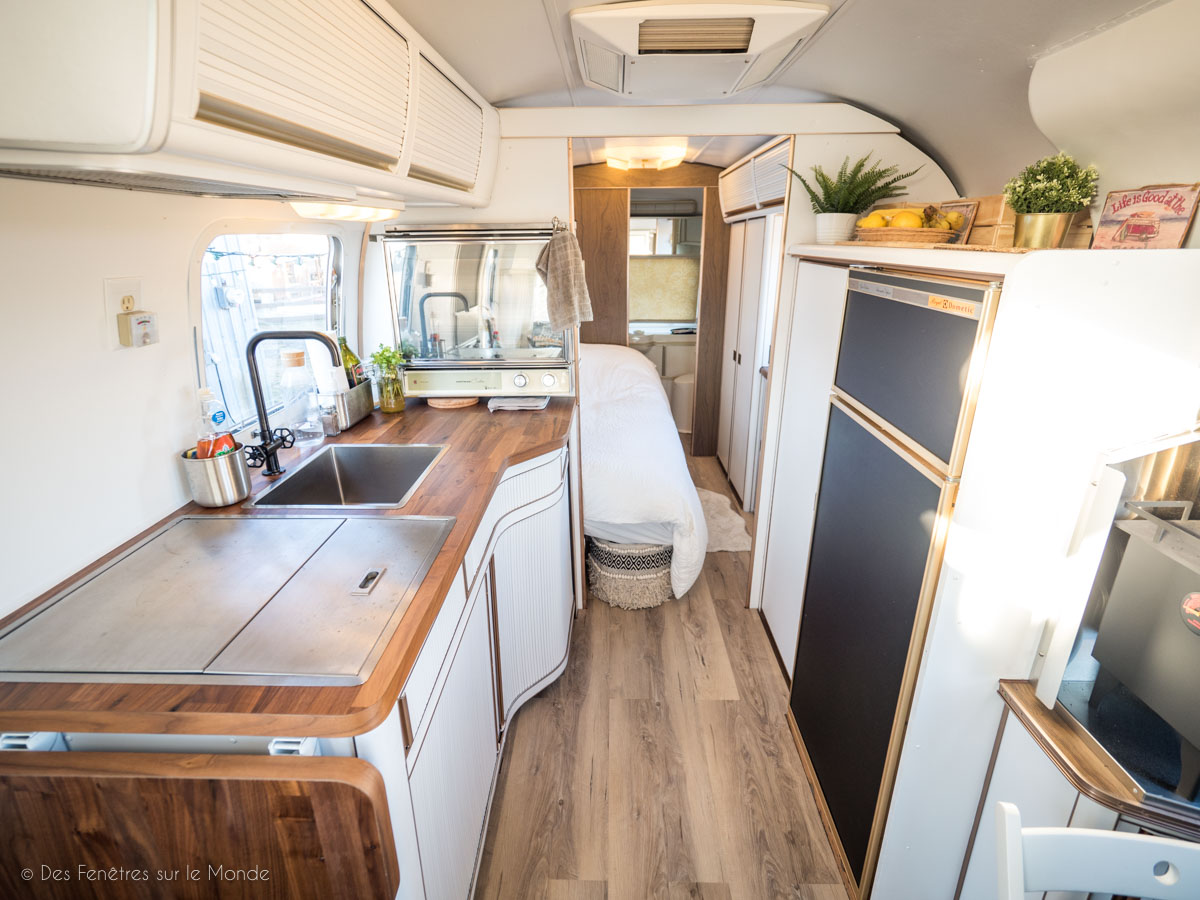
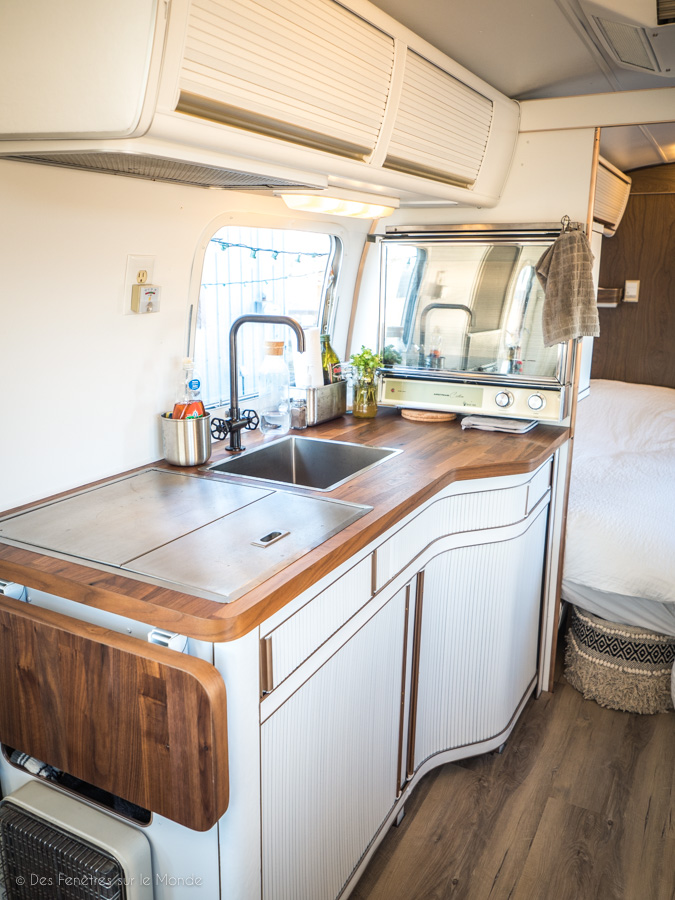
We also change the kitchen counter. We found our happiness at Ikea. A worktop in walnut which corresponds almost perfectly to the original plating. It's great, just cut it back to the original shape. We also install the new sink and new faucet. The 70s are over! Although we love those years!
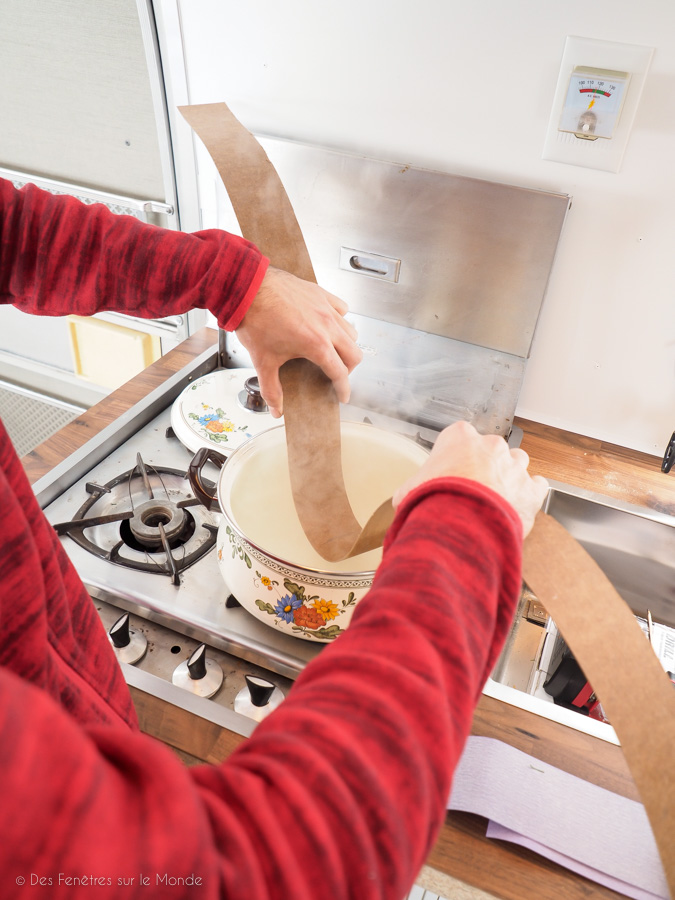
For the fields of the work planwe went to a carpenter to buy a strip of walnut veneer that we then steam bent then glued with neoprene glue. Cut the excess and break the stop before putting the oil that will give it its final shade in addition to protecting the wood.
We had ordered some parts on a site specializing in Airstream parts in the USA, such as new ceiling lamps (the original ones had yellowed over time), finishing profiles for the bathroom and other small things.
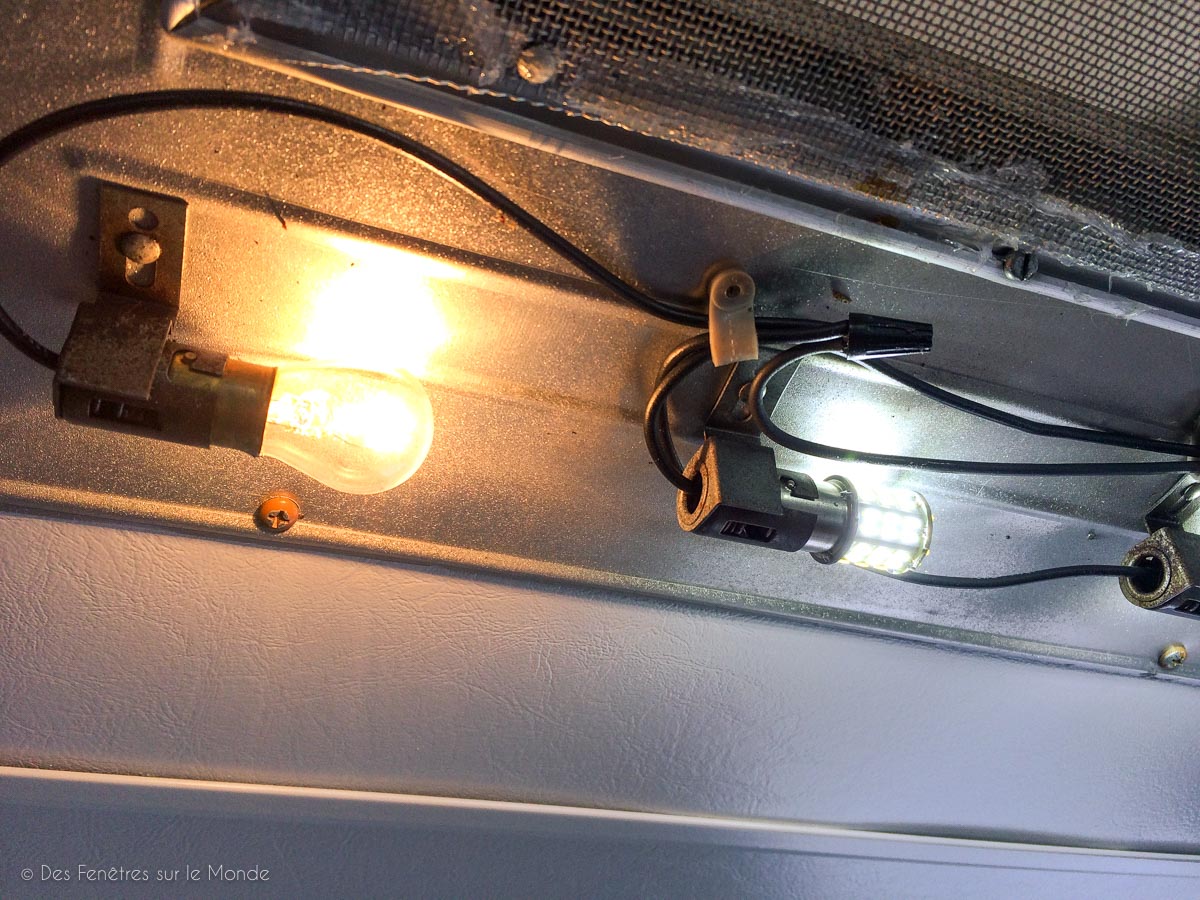
We took the opportunity to change all 12v bulbs and switch to LEDs, more economical.
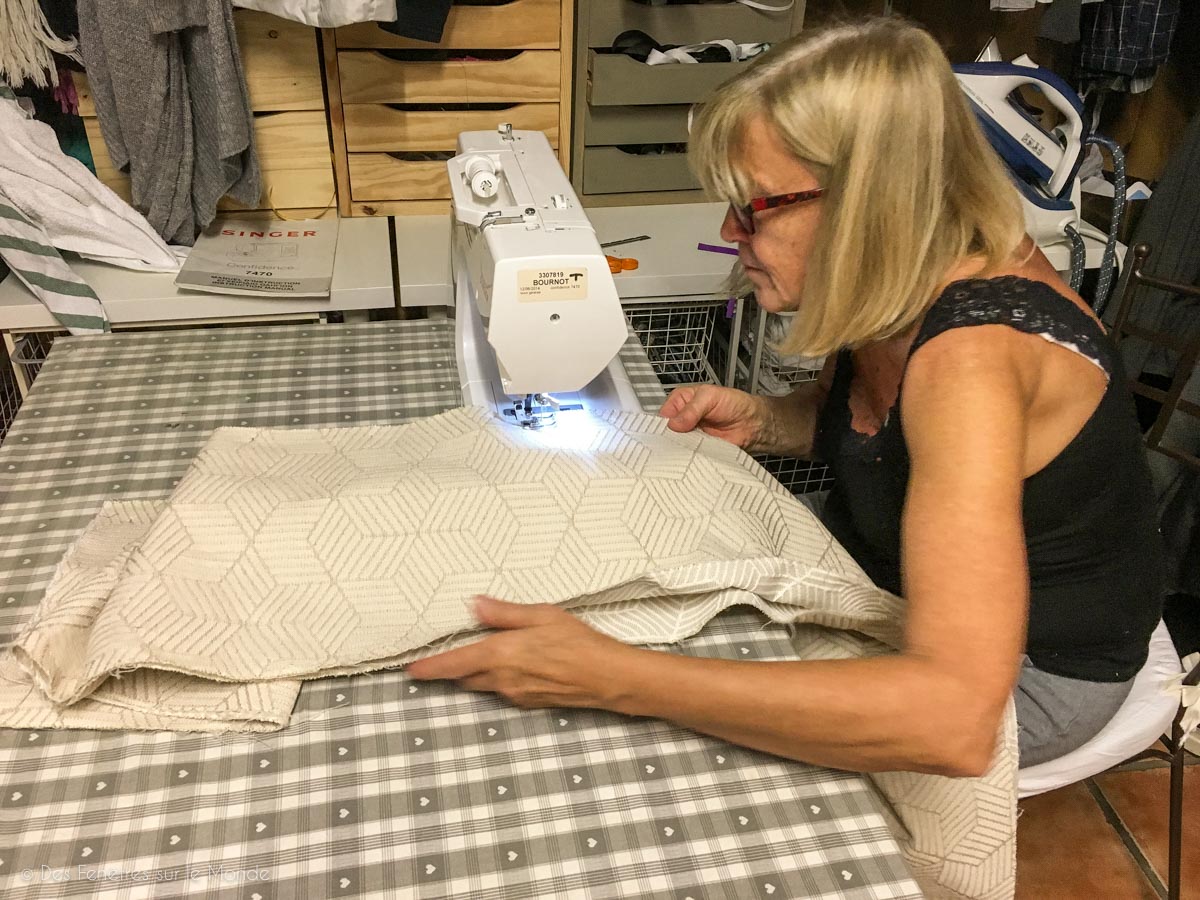
The curtains and seat covers awaited our return trip to France for the holidays to be redone by Eric's mother (whom we thank once again, a crazy job !!!). Everything is curved in an Airstream so it was really not easy!
For the little story, we brought back all the covers and curtains of origin in France and had taken some measurements in the Airstream. Once in France, Eric's mother has measured, noted, calculated, the lengths of fabrics needed to the fair according to the lengths of rollers ... And that, without undoing the old covers and curtains.
Said like that, it sounds simple, but drawing a pattern, which is more without having really seen the Airstream, is not obvious. We have chosen fabrics in haberdashery, and Monique's magic fingers did the rest ... hours and nights of work, especially since we did not choose the simplest fabrics to sew…
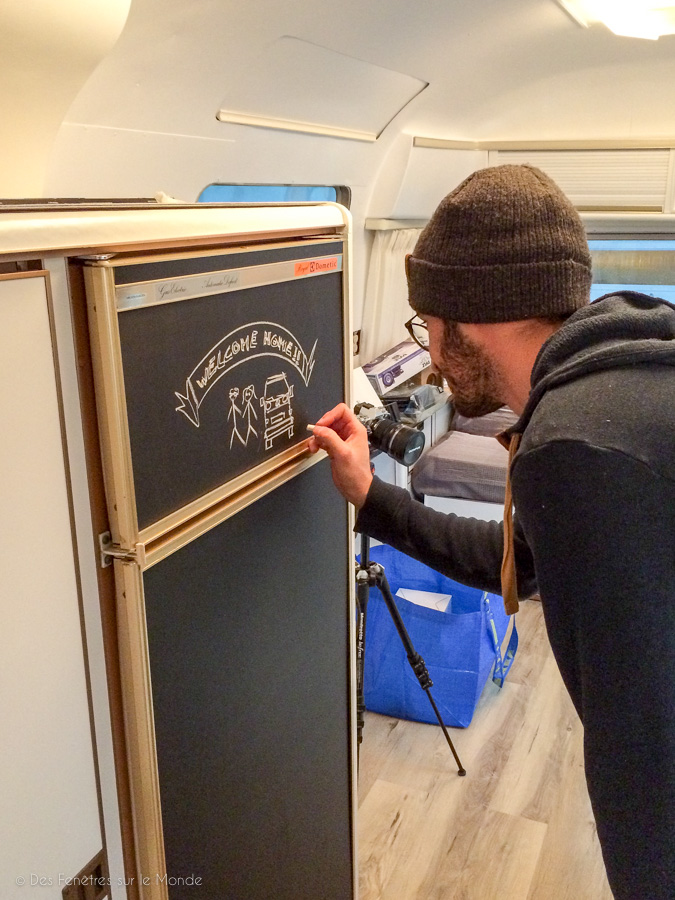
We also install a "blackboard" stickers on the refrigeratorbut he did not last long ... so we ended up painting it also, always blackboard way.
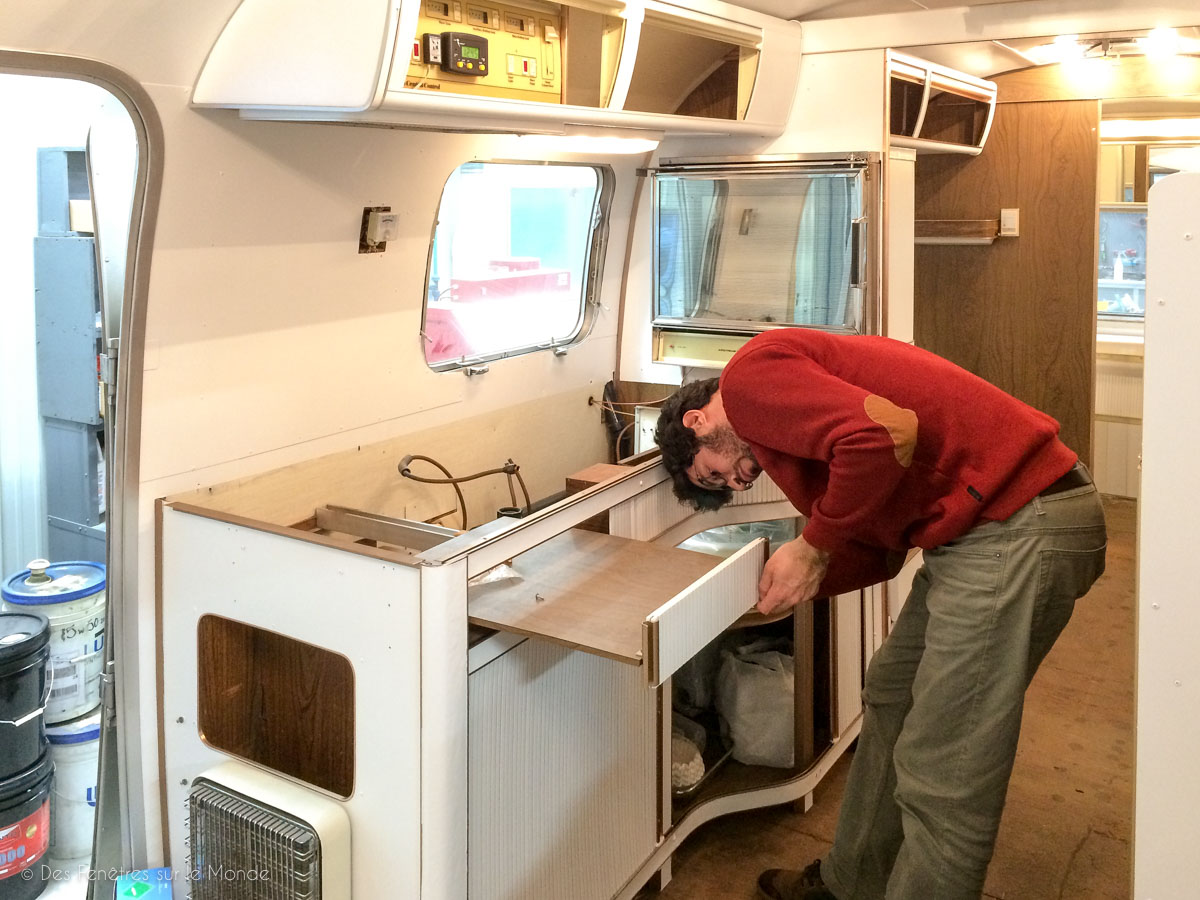
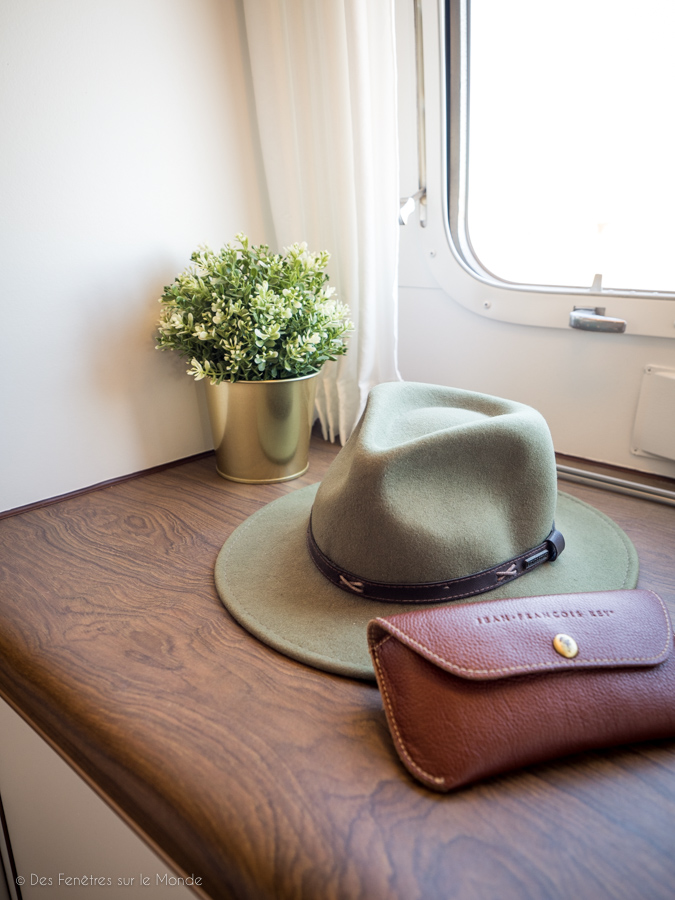
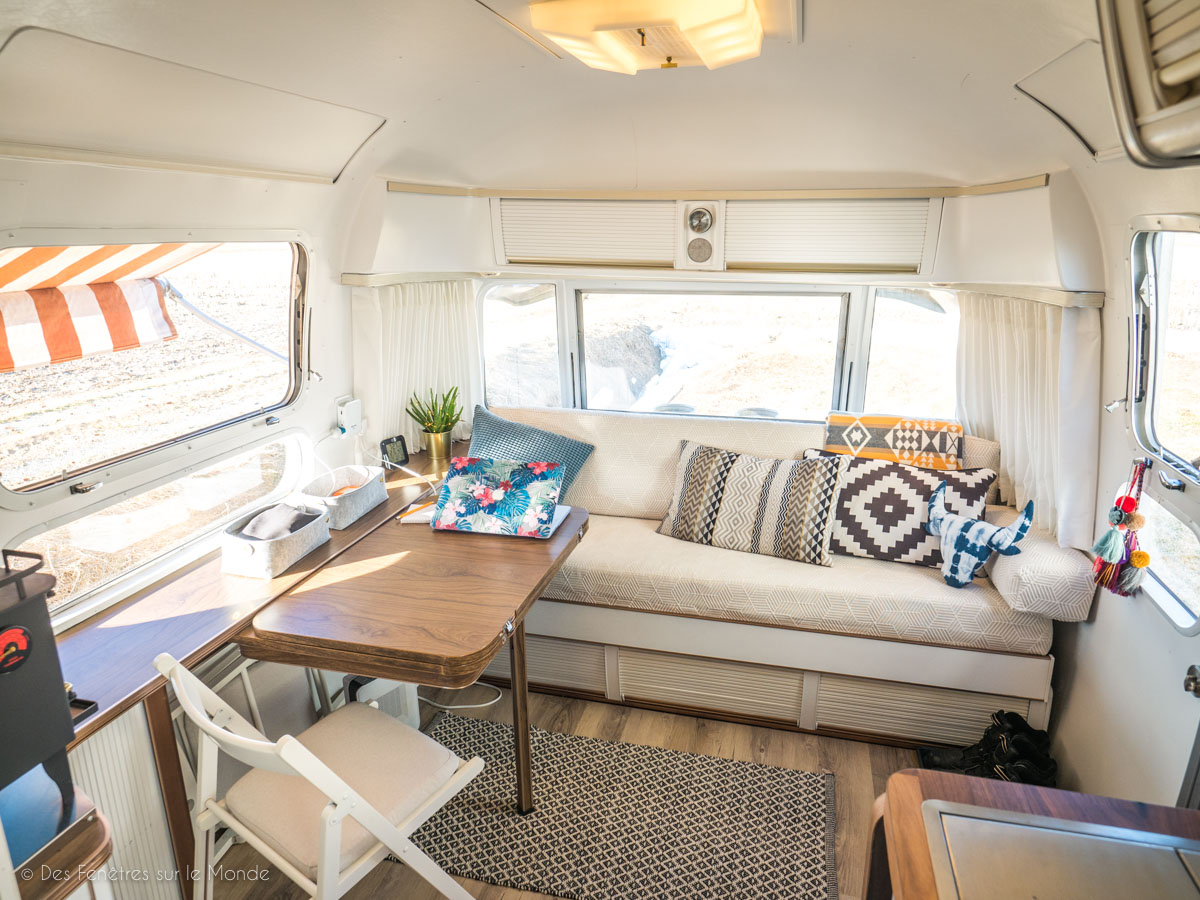
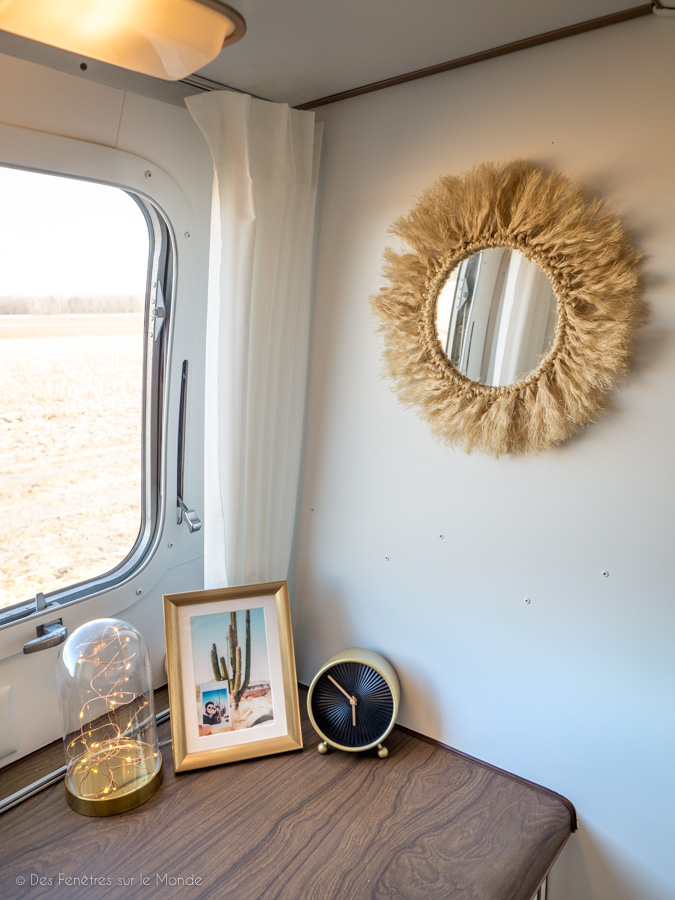
We move in, we decorate a little (but not too much, we're not there for a long time and then since we live in van we just do little), some plants and hop here we are!
But would not we have forgotten something ?!
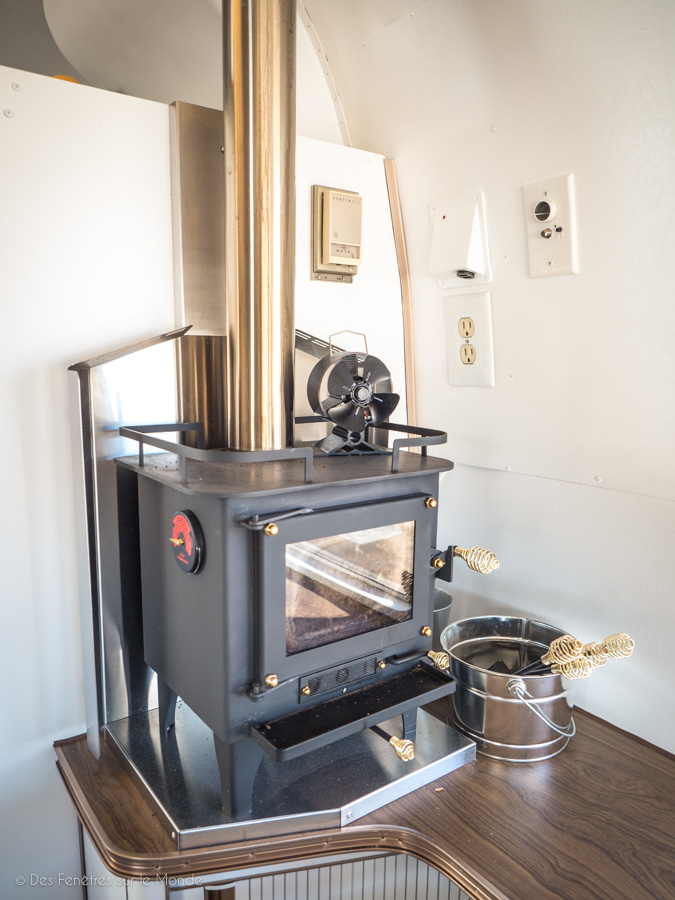
Ah yes… the wood stove ...
Better not forget that one, because winter is early and, as you know, it's to spend the winter in Canada that we bought this Airstream (for lack of being able to pass it in our van alias Popo).
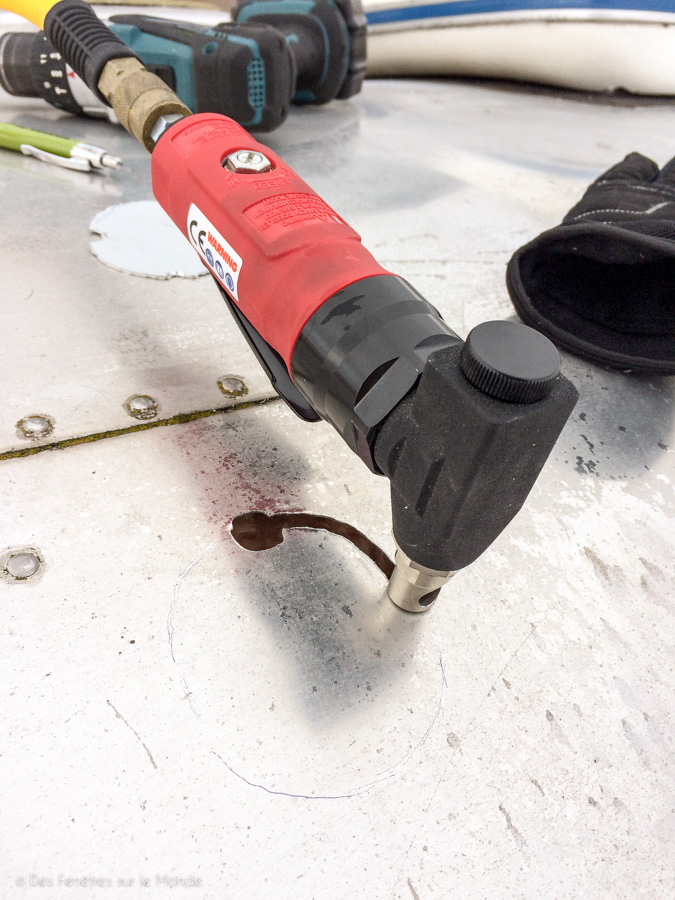
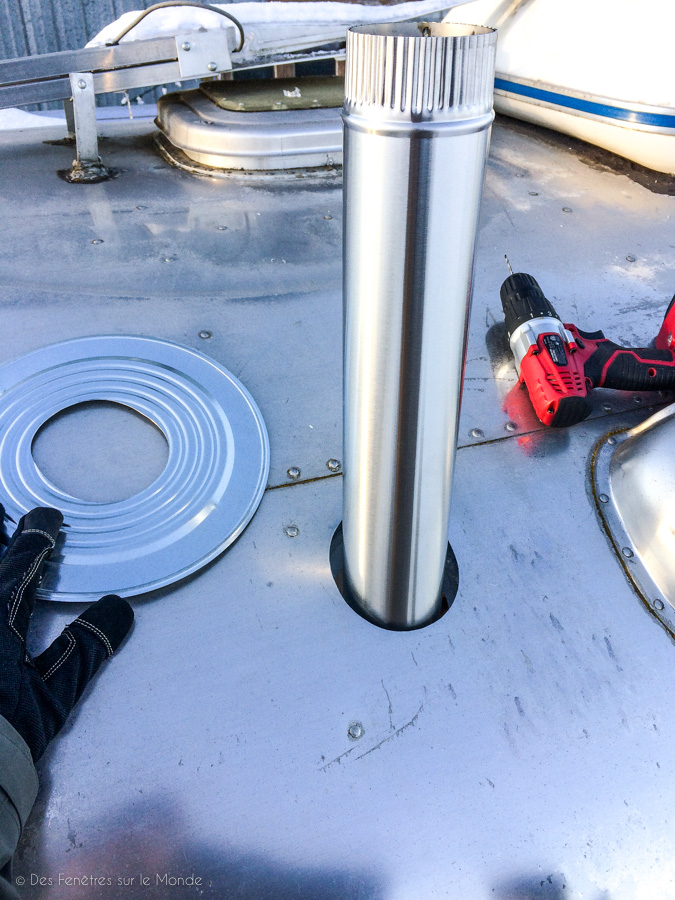
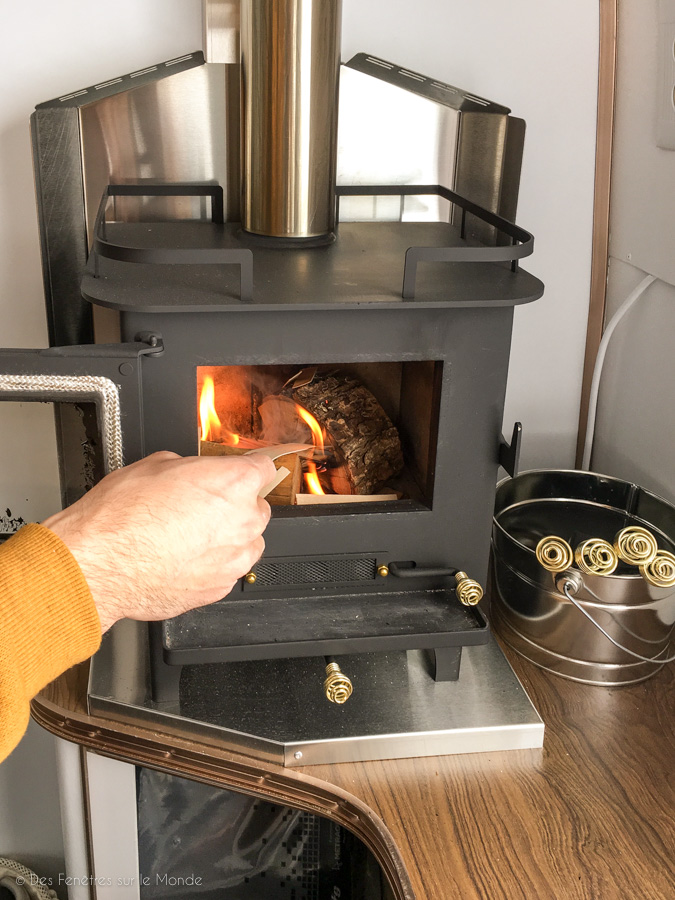
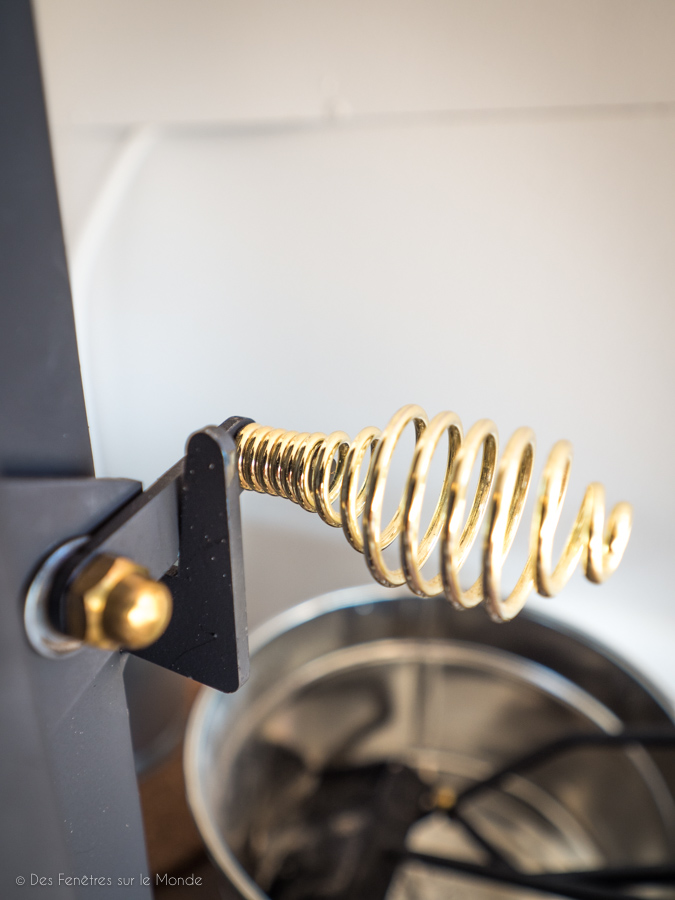
So here is the beast! Uh ... actually he is very small ... but really small. Who says mini-stove, says mini-logs! It is installed in the Salon. It must of course to make a hole in the double wall of the trailer (Joana had to look away at this step, she can not stand to make holes). Not obvious when everything is rounded here again. But we are doing well, we install everything without problem. We had to modify the support a bit so that it fits into the work plan and we made aluminum washers to finish. For the outer joint we used a high temperature special translucent silicone. Making a beautiful almost invisible finish. (If you feel like it, we'll do a short article on the installation of the latter and a point on our use, its performance, etc.)
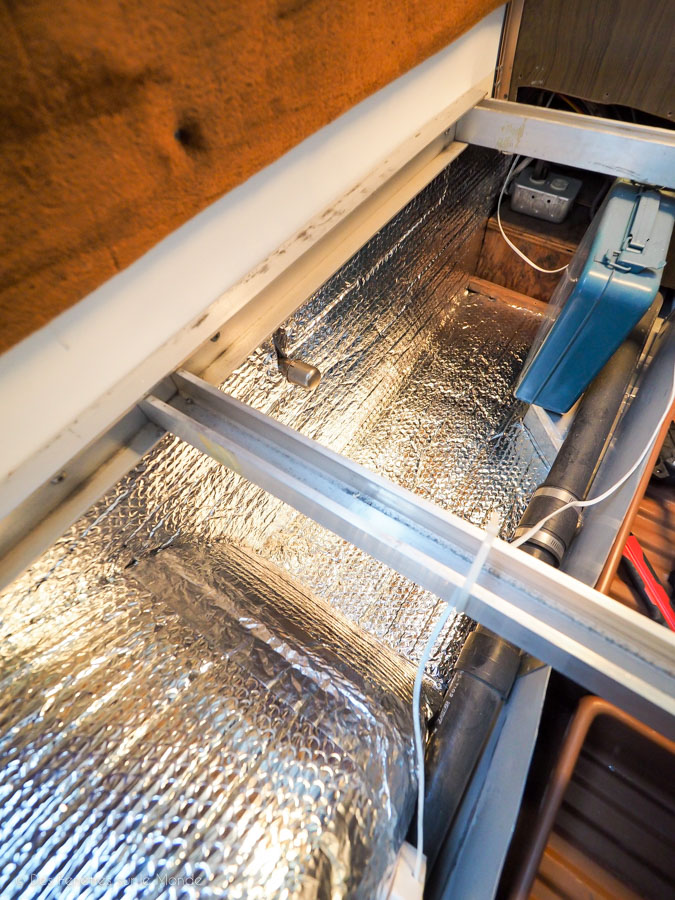
And to avoid heat loss we added thin insulation everywhere where you could: under the bed, on the wheel arches, in the cupboards, behind the sofa, behind the inspection hatches, ... in short, nothing seems like that but almost everything is lined with insulation!
That's it, we are now ready to spend the winter in our Airstream. She is now like New and to our taste while keeping its stamp and its original style even with this omnipresent white.
We only have more survive the cold winter of Quebec winter well warm near our small wood stove.
We will soon explain how we were able to survive the winter of Quebec in a trailer this winter ... It's all about anticipation, but you will see that we had some surprises anyway!



great job! She is magnificent !
Thank you ! We put all our heart!
Magnificent !!!!! Congratulations to you !
Thank you, it's a project we had in mind for a while now, so it's nice to see it come true 🙂
Hello, you have worked really well!
It's very beautiful, congratulations!
Thank you very much ! It was intense work but we are happy with the result 🙂
Magnificent! You make us dream but knowing the job that it represents!
THANKS ! We didn't count the hours...
Hello to both of you.
I came across your blog…a little nugget. I came back a few weeks ago from a 3 month stay in Iceland (from December to January 2020) Back just in time for the Covid 19... Left France with my (electric) car crossed Belgium, the Germany, Denmark. Ferry to Hirtshals. My next roadtrip should take me from Canada (Yukon, I'm a big fan of the Northern Lights). to Ushuaïa and I am considering buying a Mercedes sprinter that I would convert into a Van. Reading your articles is a great help. Thank you and have a good trip.
Thank you Didier for your comment. A nice project you have there, don't hesitate if we can help you 😉
Hello to you :)!
Your blog has really helped me! I followed many of your advice throughout my renovations and the photo support with the descriptions of each step really allowed me to make informed choices. I have a few questions 🙂 For your floor covering, were the clipping vinyl planks a good choice for you in the end with the temperature variations? I have several different opinions when I shop for it and I can't decide between that and linoleum.
2nd Question! 🙂 Your wood stove!!! Very practical and above all compact, but do you have a problem cutting your wood into small pieces and finally managing to keep a fire going all night when you “stuff” it?
Does the fireplace leak when it rains a lot or when you are on the move?
Once again WOW for your work and your imagination, it really swells with you and very inspiring.
Thank you so much for taking the time to do this and for sharing!!!
Hello Sébastien!
Thank you for your message and the compliments 🙂
Vinyl flooring was definitely the right choice for us. It is waterproof and easy to apply, much more than a roll!
It has not moved with the temperature variations, it is of course necessary to have an expansion joint on the edge.
The wood stove is really great, we heated ourselves at 90% with it all winter. We did a clean, state-of-the-art installation with the right materials, so no leaks even when riding!
Very good work, that's part of the journey ...
Thank you ! As you say, every trip / adventure has its part of preparation.
Hello,
I just wanted to know if you were in the market of taking on projects? I'm looking to have someone renovate my airstream and was wondering if that was something you would be interested in?
Thanks!
Nathan
Hey Nathan! Thank you for your message, it is very flattering. Where do you live? For the moment the priority is the journey, one day we will have a workshop but not for now 😉
Hey, very flattered by your request but that's not the plan at the moment. The trip above all (especially since our plans have been disrupted quite a bit in recent years). We will think about all this a little later, we plan to open a workshop one day. 🙂